Python Script Upload Youtube Video Raspberry Pi
A time-lapse video is a series of photos taken at regular intervals and then stitched together sequentially to create a video. Fourth dimension-lapse videos have been used for many years to compress long periods of time into brusk summary videos. Uses for fourth dimension-lapse videos range from capturing a flower blossoming, clouds moving, decorated traffic movement, putting together a big puzzle, and sunsets. The fundamental to creating an amazing time-lapse video is keeping the camera nevertheless (tripods are essential) while the subject(s) motion slowly.
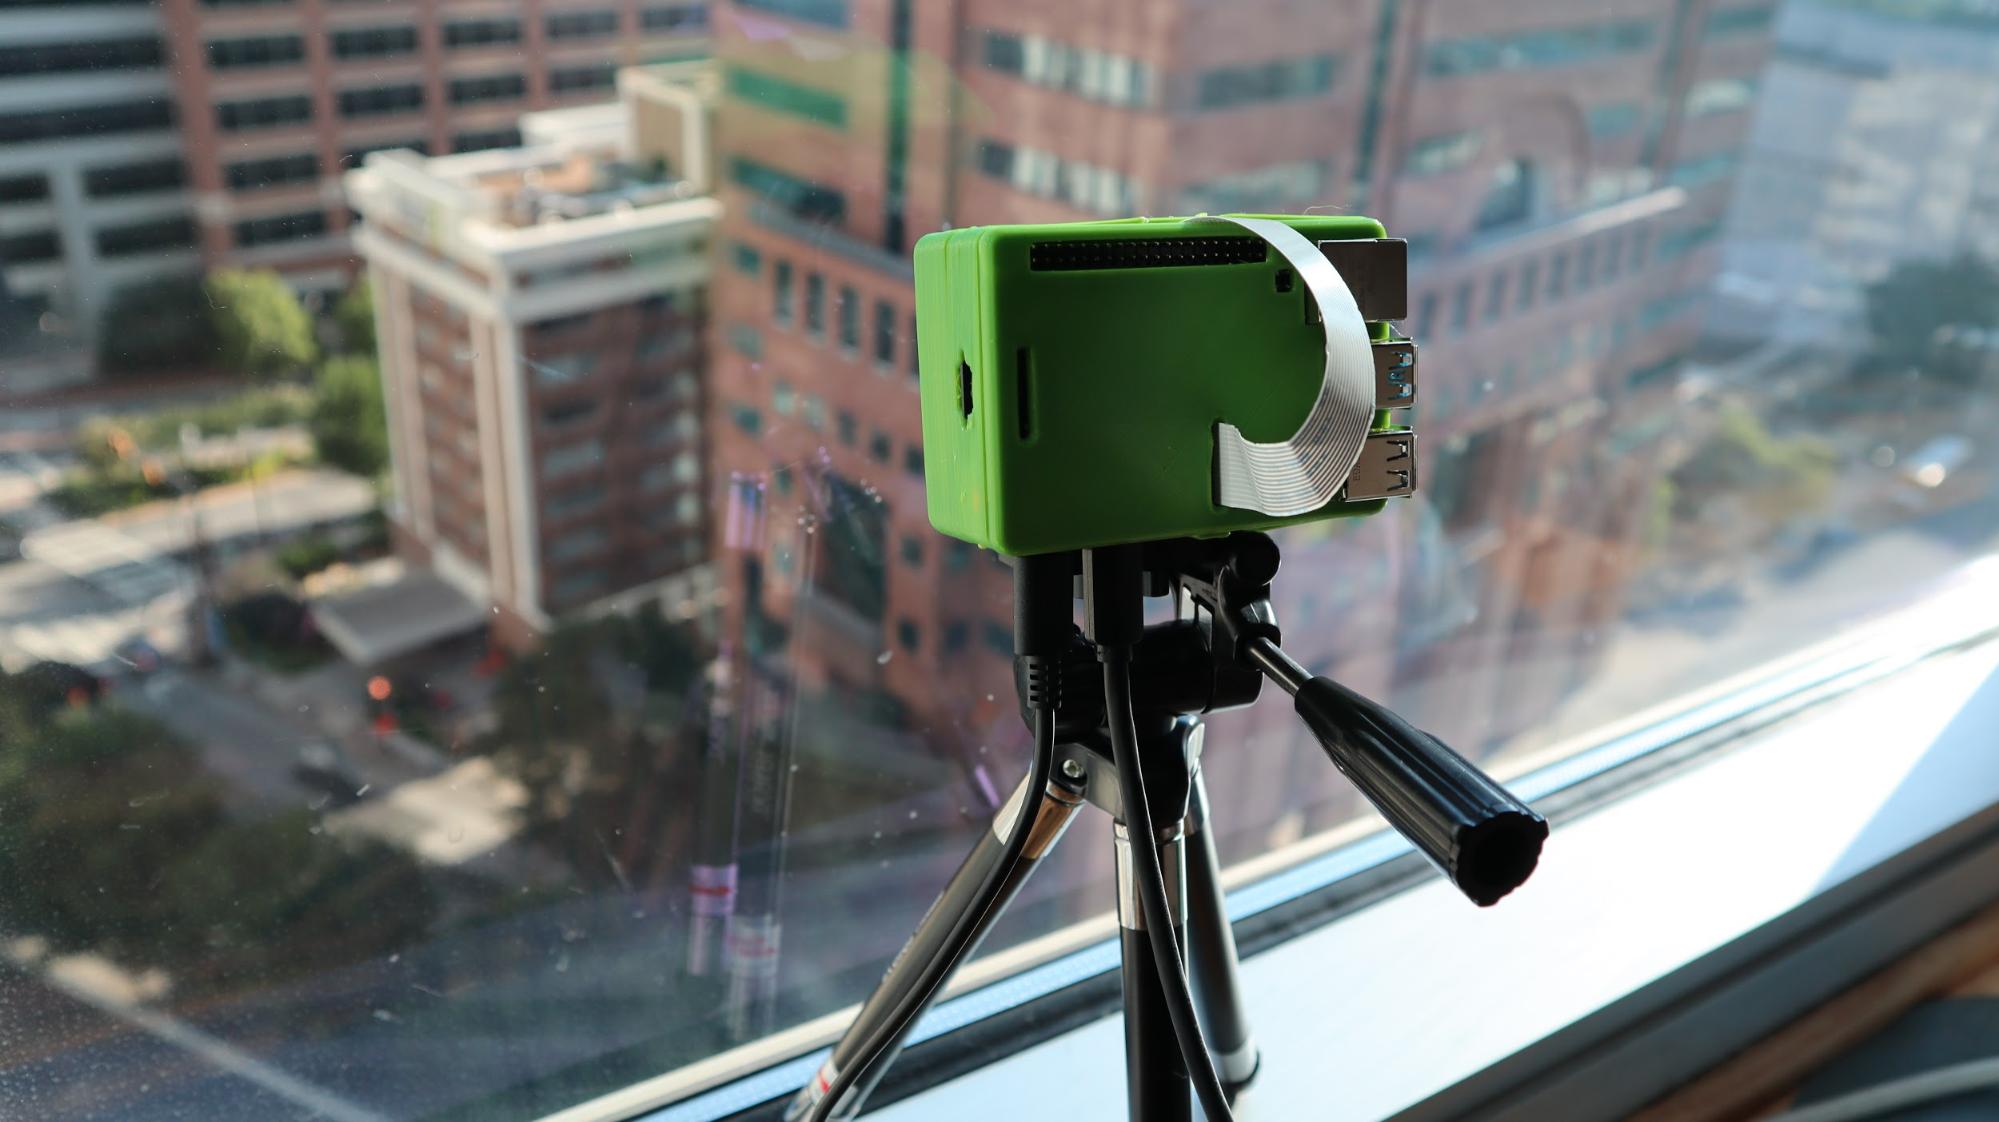
In this tutorial, nosotros'll show y'all how to create a sunrise / dusk time-lapse video with a Raspberry Pi HQ camera, only this setup could hands exist repurposed for many other types of time-lapse video.
Sunrise Time-lapse Overview
To create a sunrise video, we prepare our Raspberry Pi HQ photographic camera 30 minutes earlier sunrise to accept photos every 3 seconds for an hour. After an hour, the Raspberry Pi will sew together the photos together at 30 frames per 2d to create a 24 2d video of the sunrise. The Python code included with this tutorial allows the user to customize how long the fourth dimension lapse camera will run, the number of seconds betwixt each photo, and the frame charge per unit of the time lapse video itself. As a bonus we've included instructions on how to set the HQ camera to commencement at a specified fourth dimension of the day.
What yous'll need:
- Raspberry Pi 4
- Power supply/microSD card/Keyboard/Mouse/Monitor/HDMI Cable (for your Raspberry Pi)
- High Quality (HQ) Photographic camera
- CS Mount lens for HQ photographic camera
- Raspberry Pi Camera Ribbon Cable
- Tripod

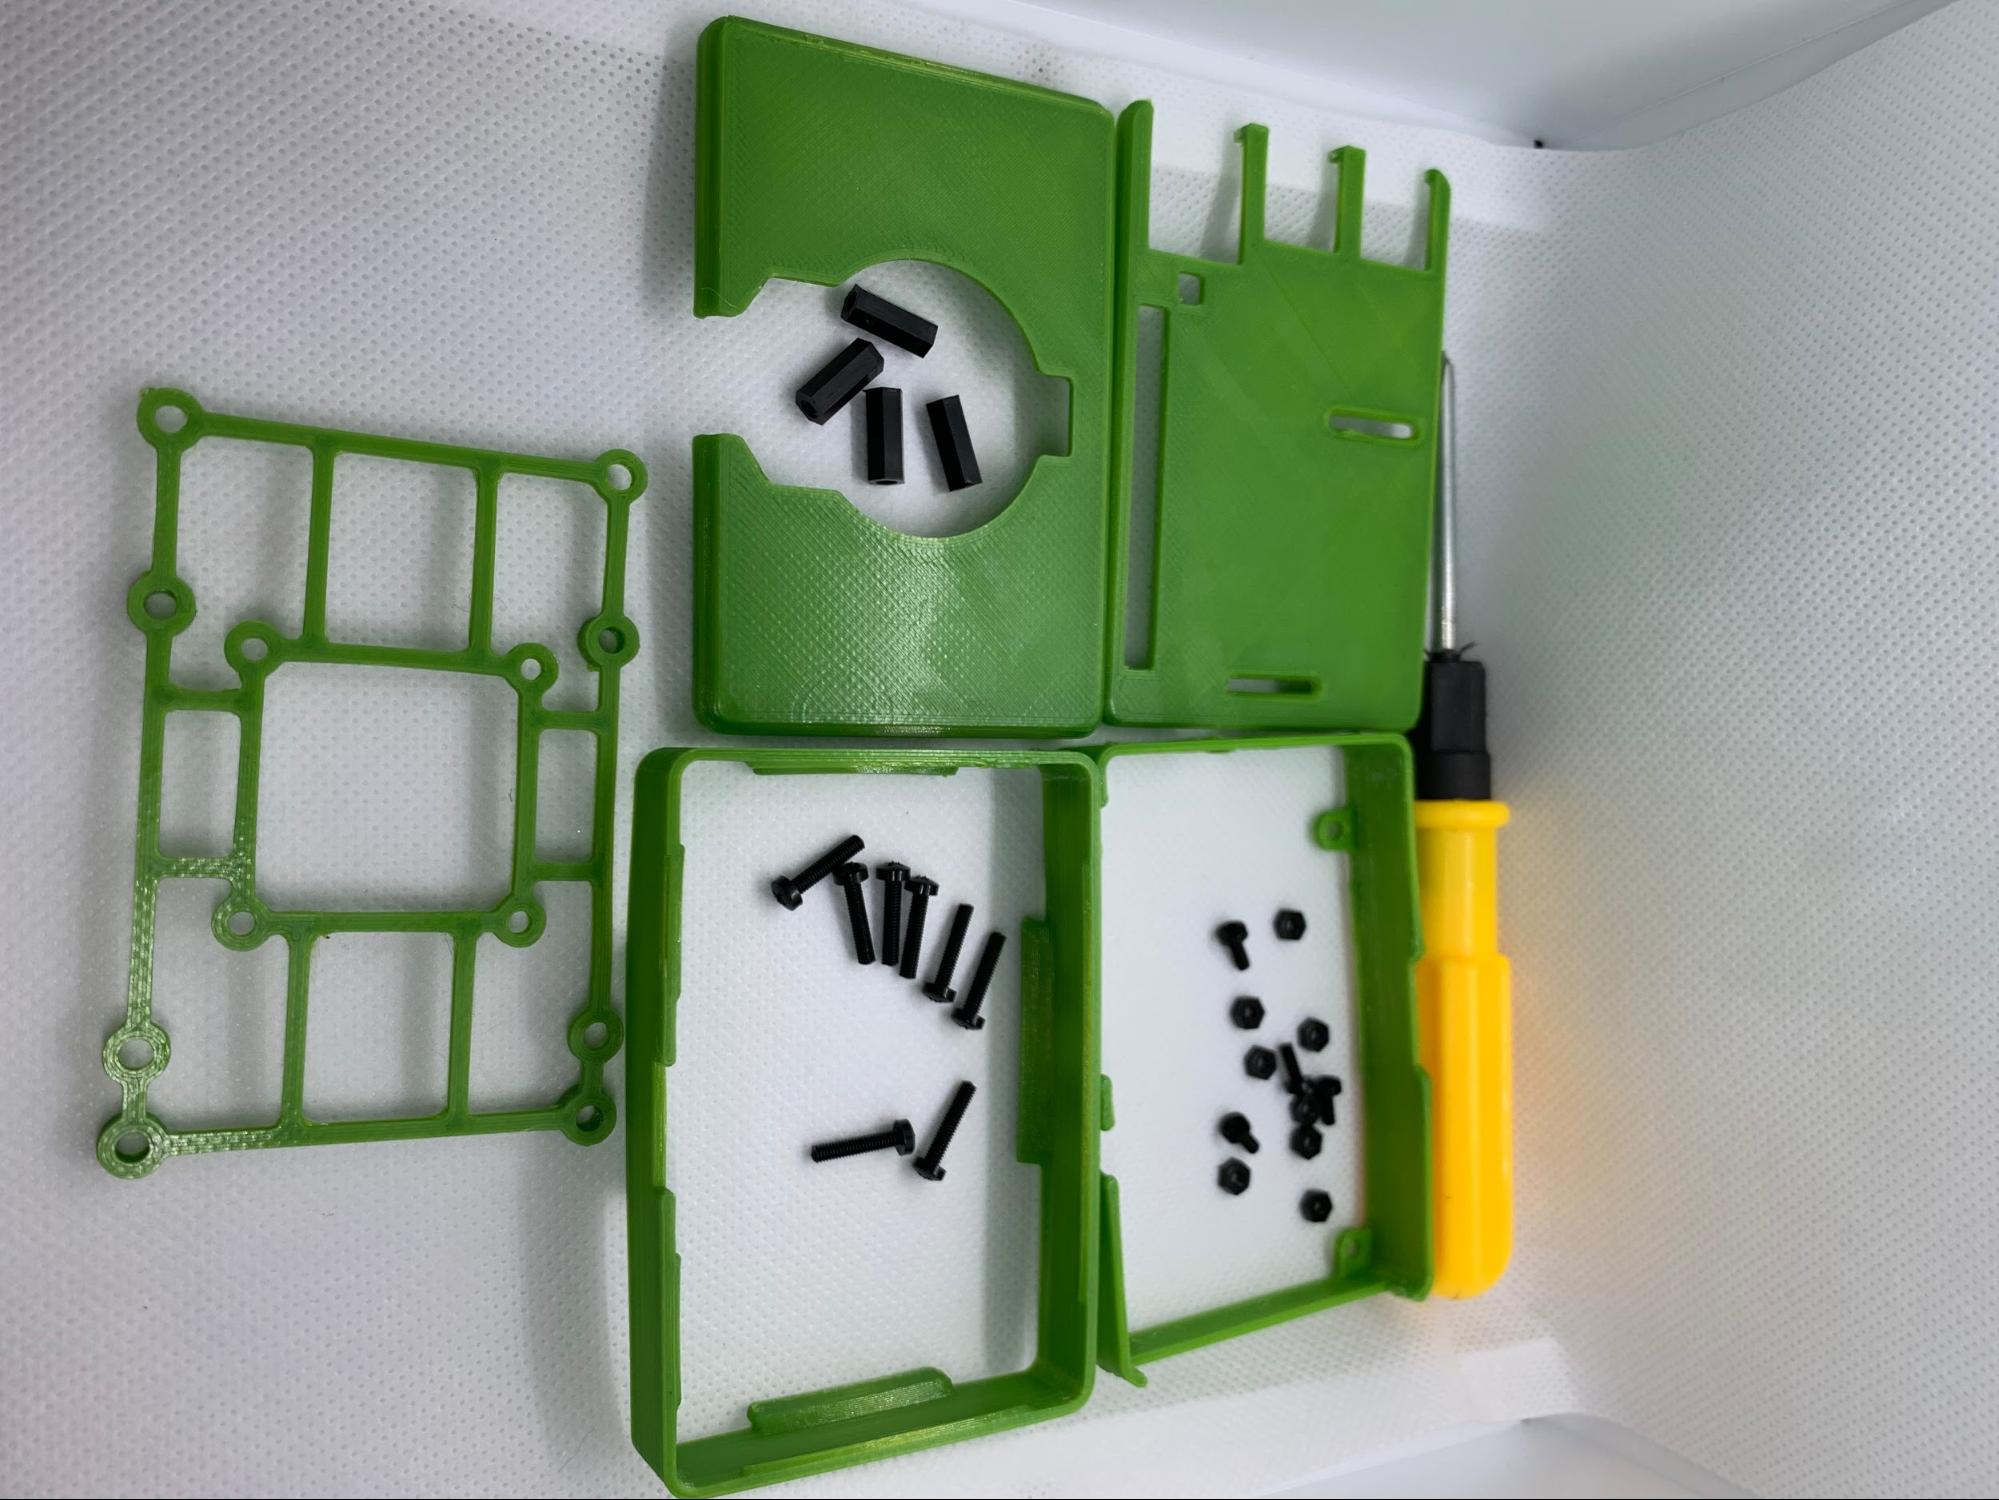
Optional: You can 3D print a case for your Raspberry Pi and HQ camera here.
This Pi and HQ camera case requires four M2.5 female stand-offs, 16 M2.v screws, and eight M2.5 nuts.
Part 1: Associates
In this section, nosotros will connect the Raspberry Pi 4 to the photographic camera module. This tutorial utilizes the Raspberry Pi OS Desktop.
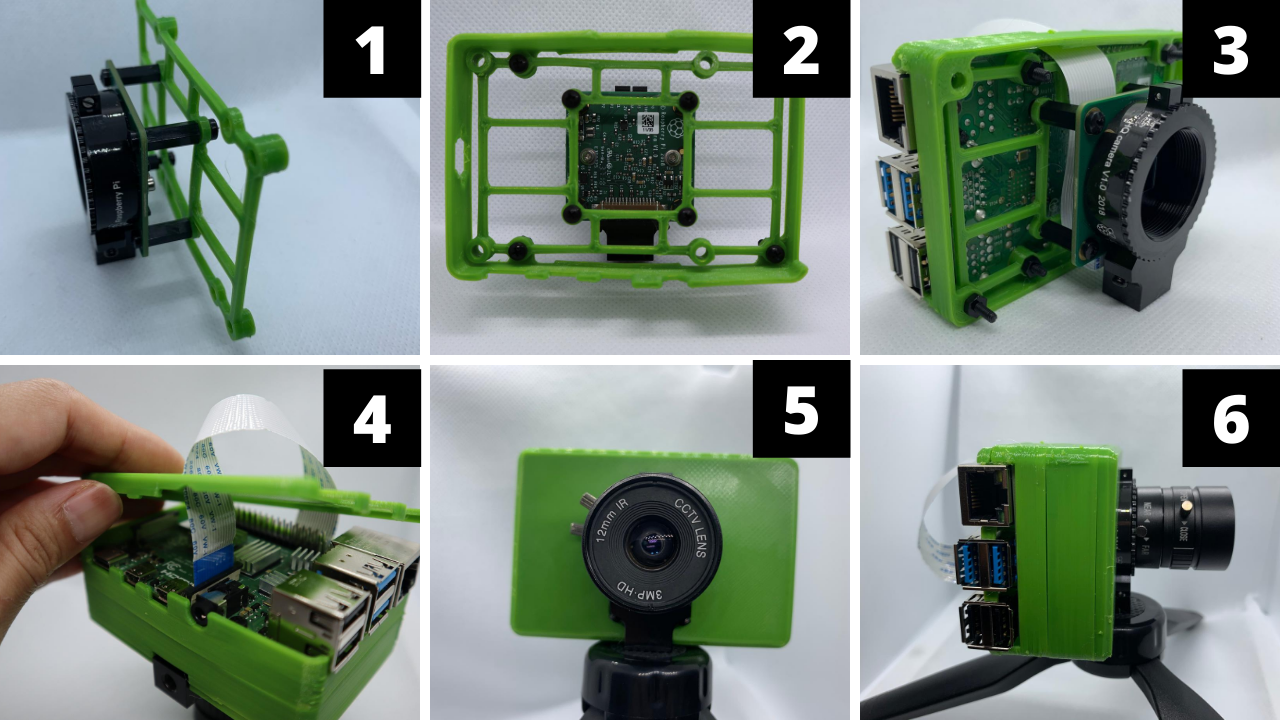
Optional: Assemble the example to attach the HQ photographic camera to the Raspberry Pi.
1. Attach 4 - 12mm female stand-offs to the HQ photographic camera with M2.5 screws. Attach the stand-offs to the frame with an additional 4 M2.five screws.
2. Adhere the frame to the raspberry pi housing with 4 K.25 screws and basics. The long end of the screws should confront the camera side of the frame, and not the Raspberry Pi side.
iii. Attach your Raspberry Pi to the housing with 4 more M2.5 screws and basics, lining upward the ability, and usb ports. Attach one stop of the ribbon cablevision to the HQ camera and thread the ribbon through the casing and frame backside the Raspberry Pi. The silvery border of the ribbon cable should face the camera lens.
4. Thread the ribbon cable through the slot of the dorsum cover and attach the complimentary end of the ribbon cablevision to the Raspberry Pi. The blue side of the finish of the ribbon cable should confront the USB ports. Snap on the back embrace.
v. Snap-on the 2 front pieces of the housing and screw on your lens.
six. Mount your HQ camera associates to your tripod.
Required Assembly
one. Connect the Raspberry Pi to the HQ photographic camera via ribbon cable.
2. Attach your CS mount lens to the HQ camera.
3. Power upwardly your Pi.
Office two: Manual Focus
In this section we will ready our HQ camera to take photos.
1. Boot your Raspberry Pi. If you don't already have a microSD menu see our article onhow to set up a Raspberry Pi for the first fourth dimension or how to do a headless Raspberry Pi install.
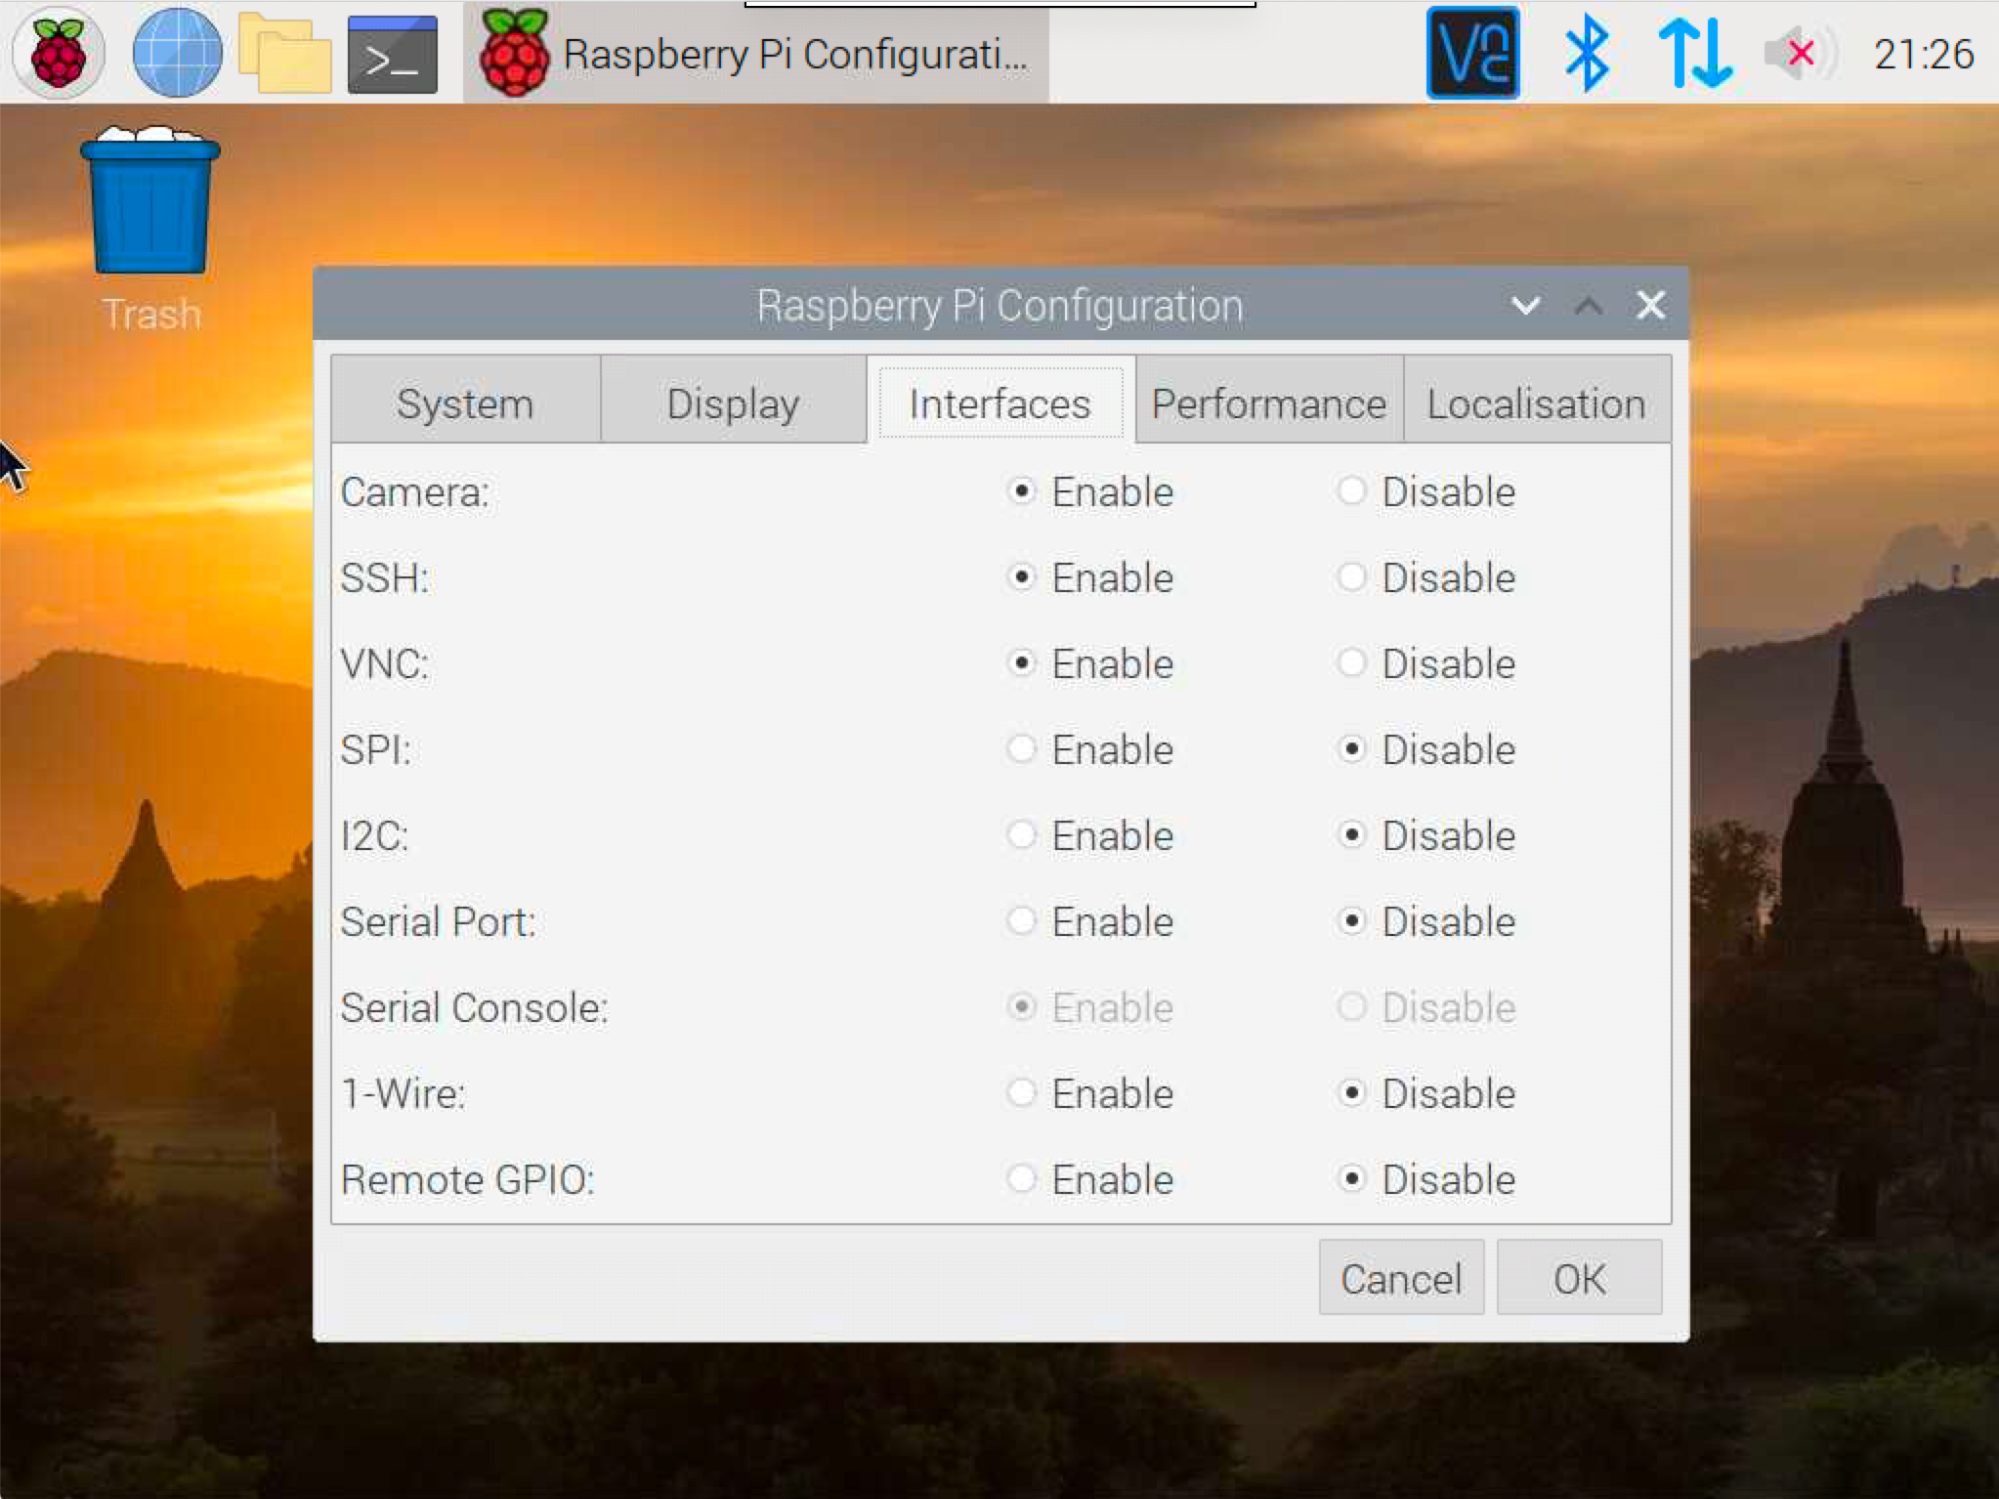
2. Enable camera in your Raspberry Pi configuration. From the desktop, click the Raspberry icon, hover over Preferences, so click Raspberry Pi Configuration. Select the Interfaces tab and Enable Camera.
three. Open a Terminal
4. Preview the photographic camera by typing:
raspistill -t 0 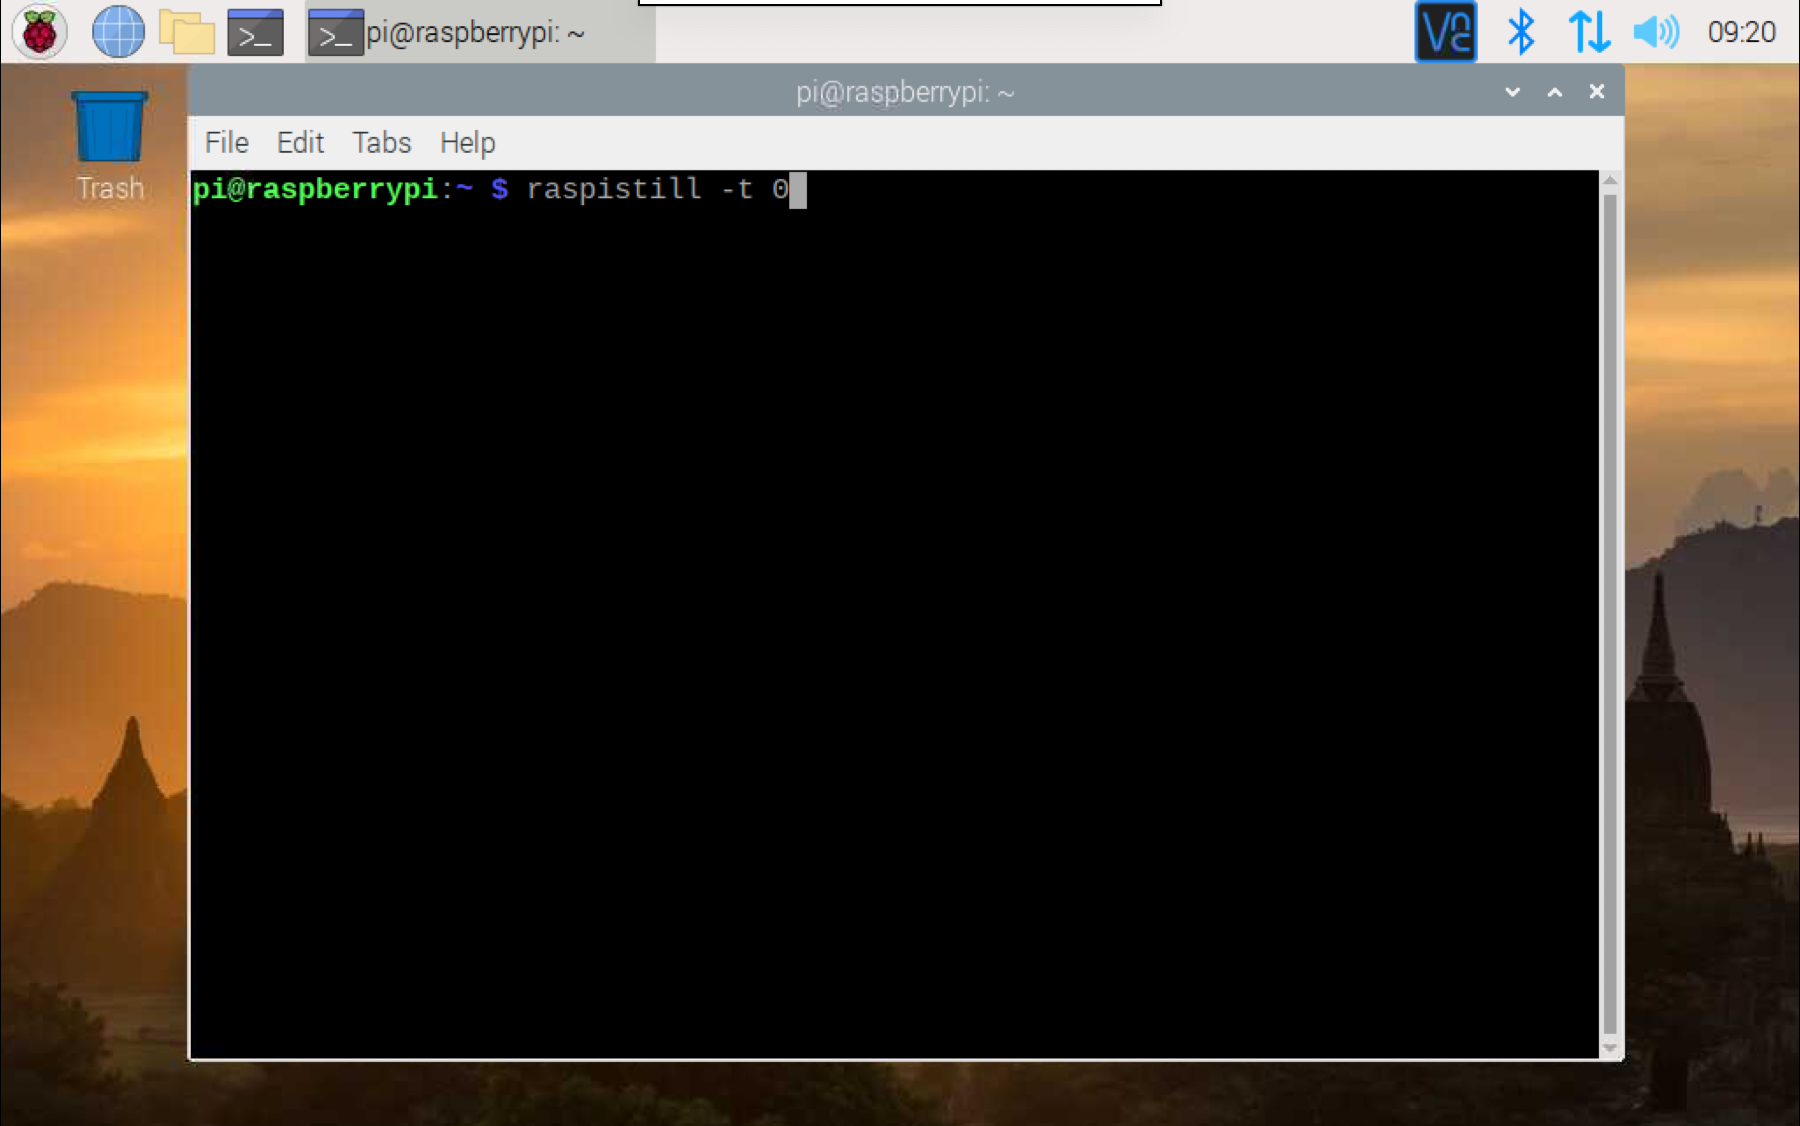
5. Arrange the focus manually by turning the lens of the HQ camera.
6. Press Ctrl-C when your epitome is in focus to shut the photographic camera view.
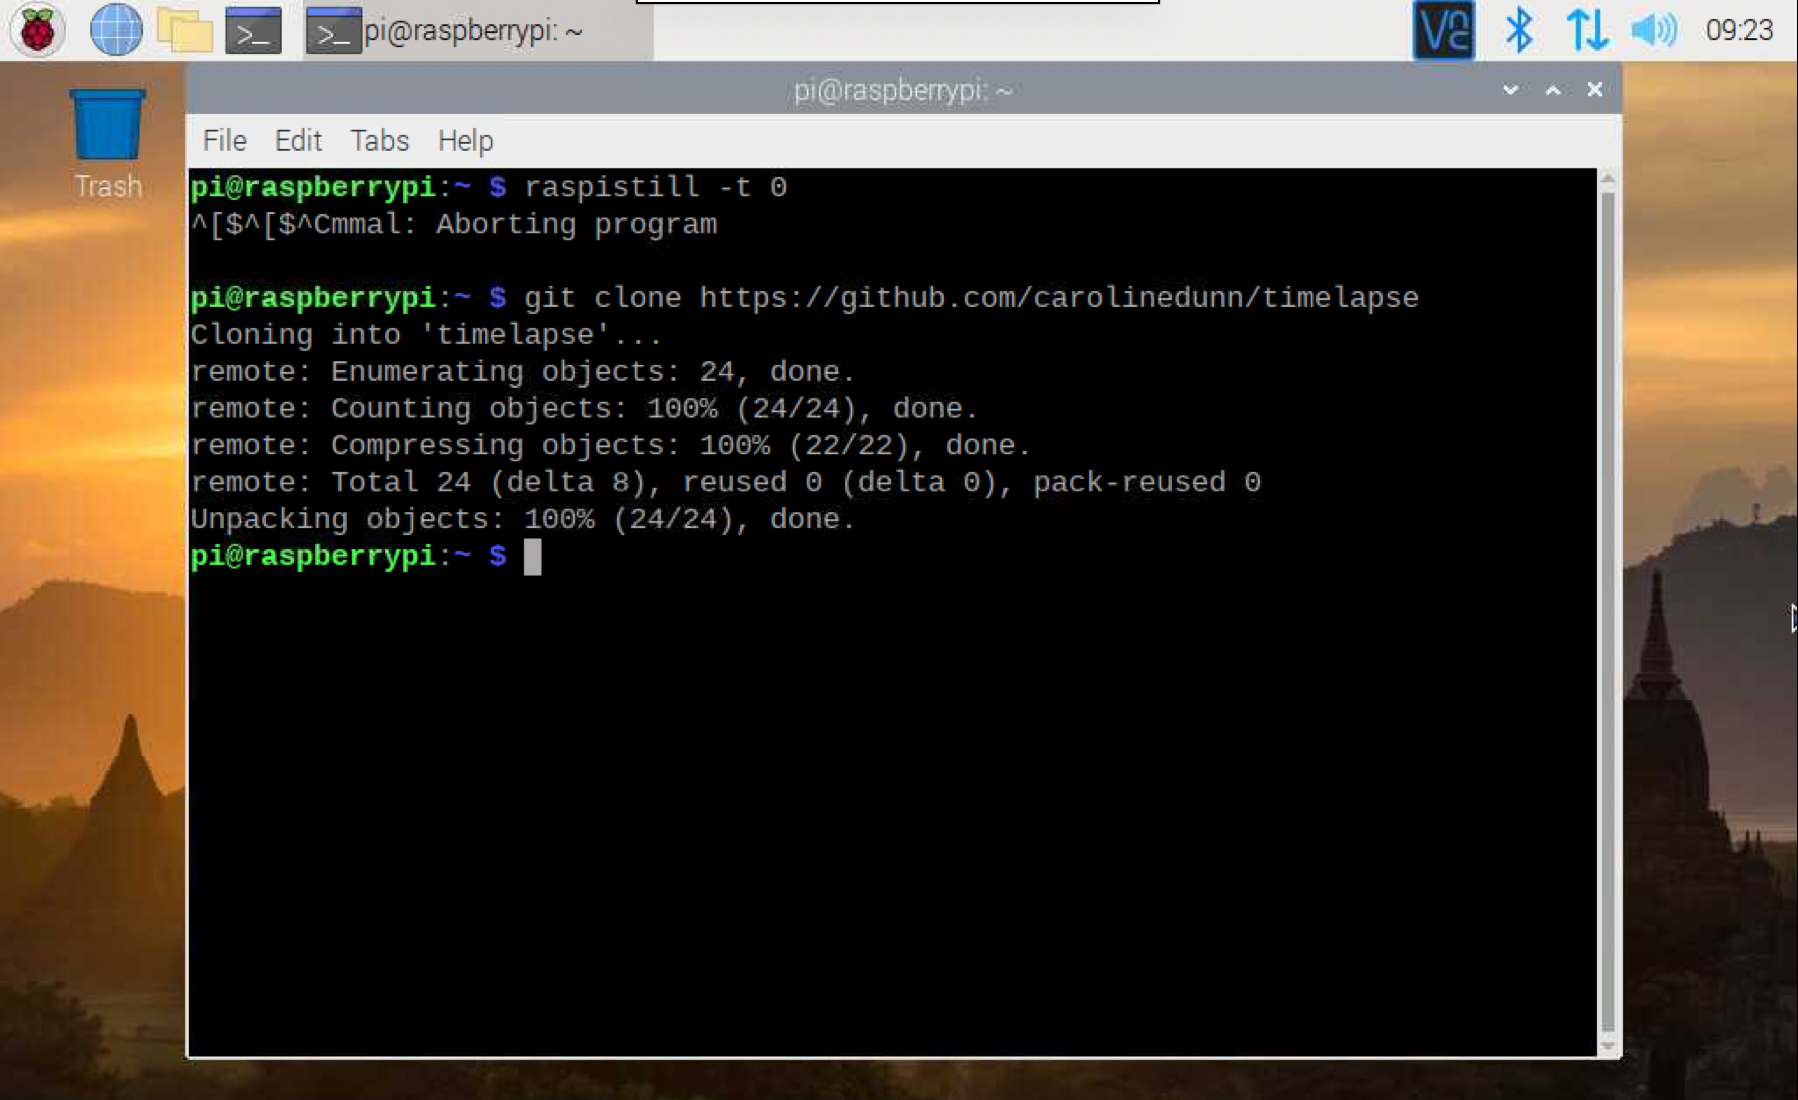
7. In the concluding, copy the repository by entering
git clone https://github.com/carolinedunn/timelapse
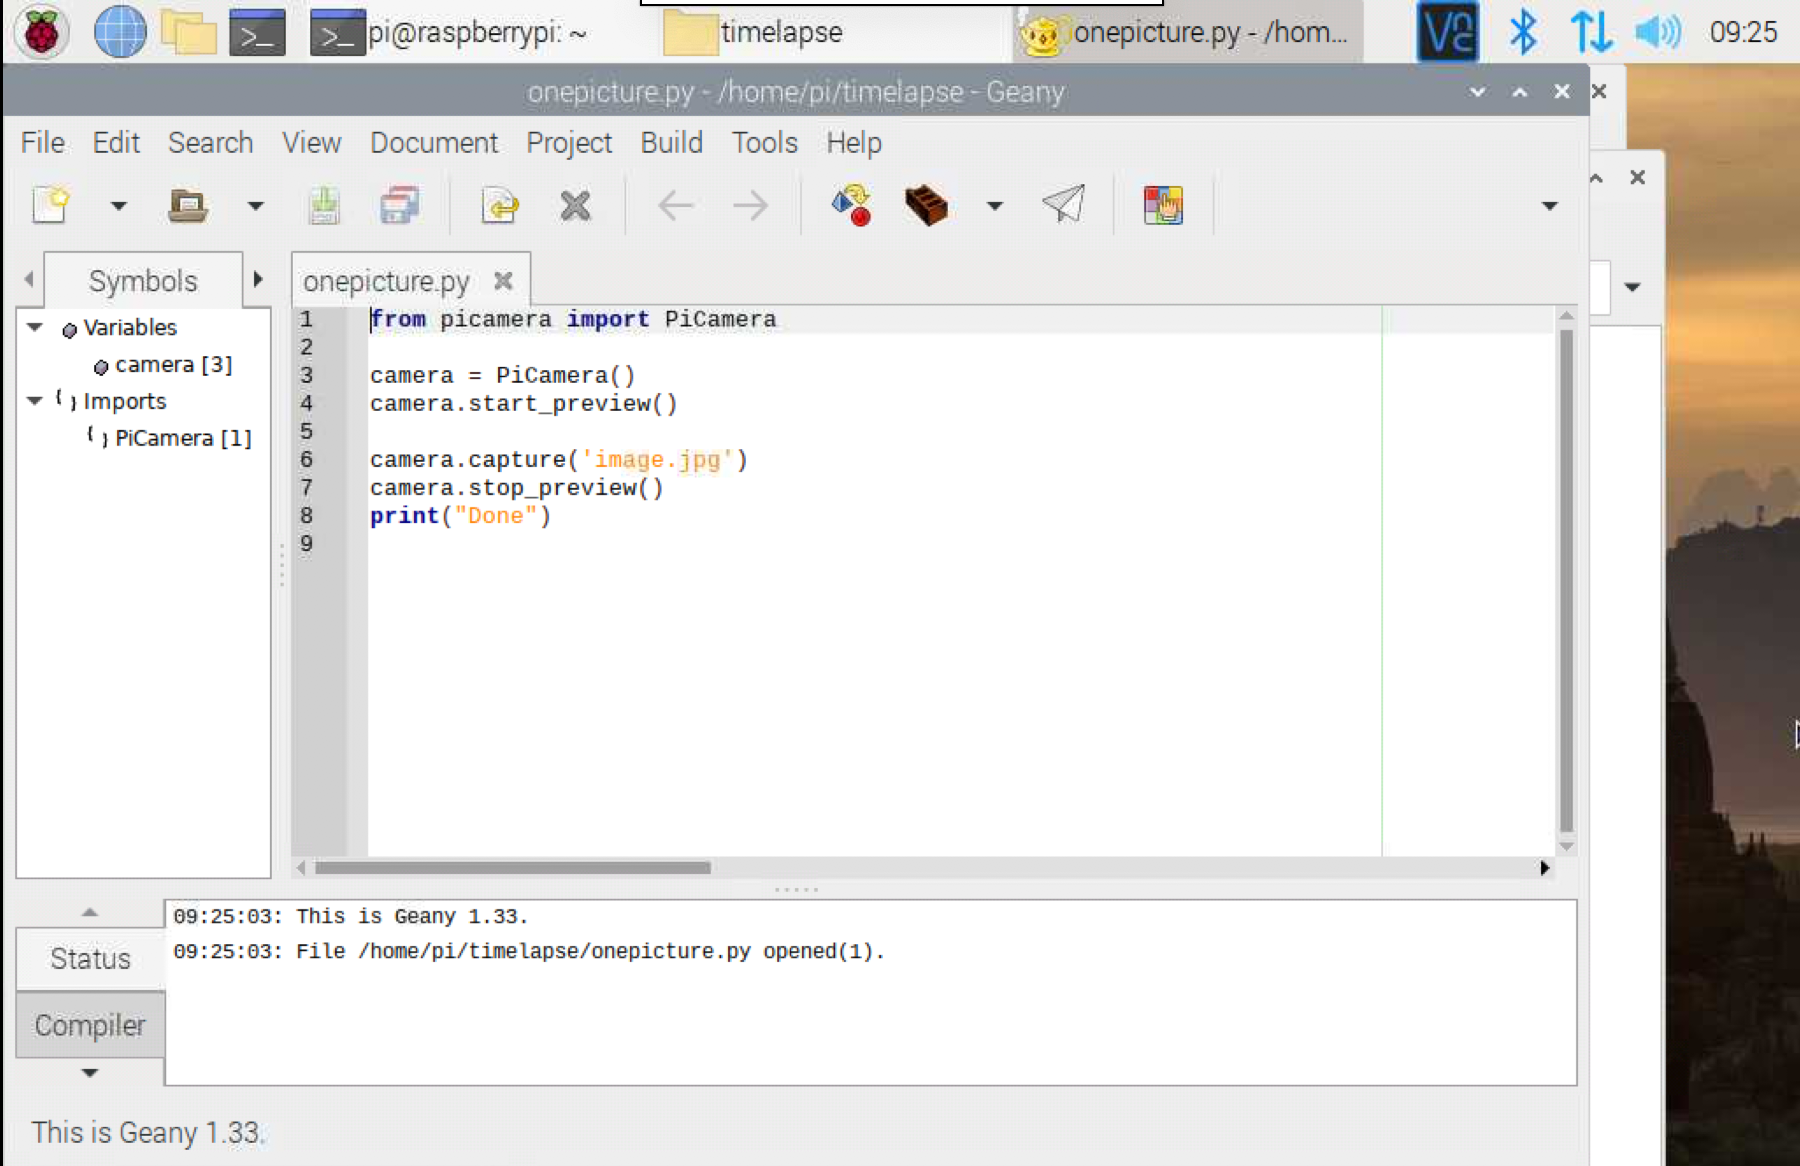
viii. Navigate to the timelapse binder in file director.Open onepicture.py for editing in Geany or Thonny.
9. Run the onepicture.py code by clicking the paper airplane icon in Geany or the Run button in Thonny.
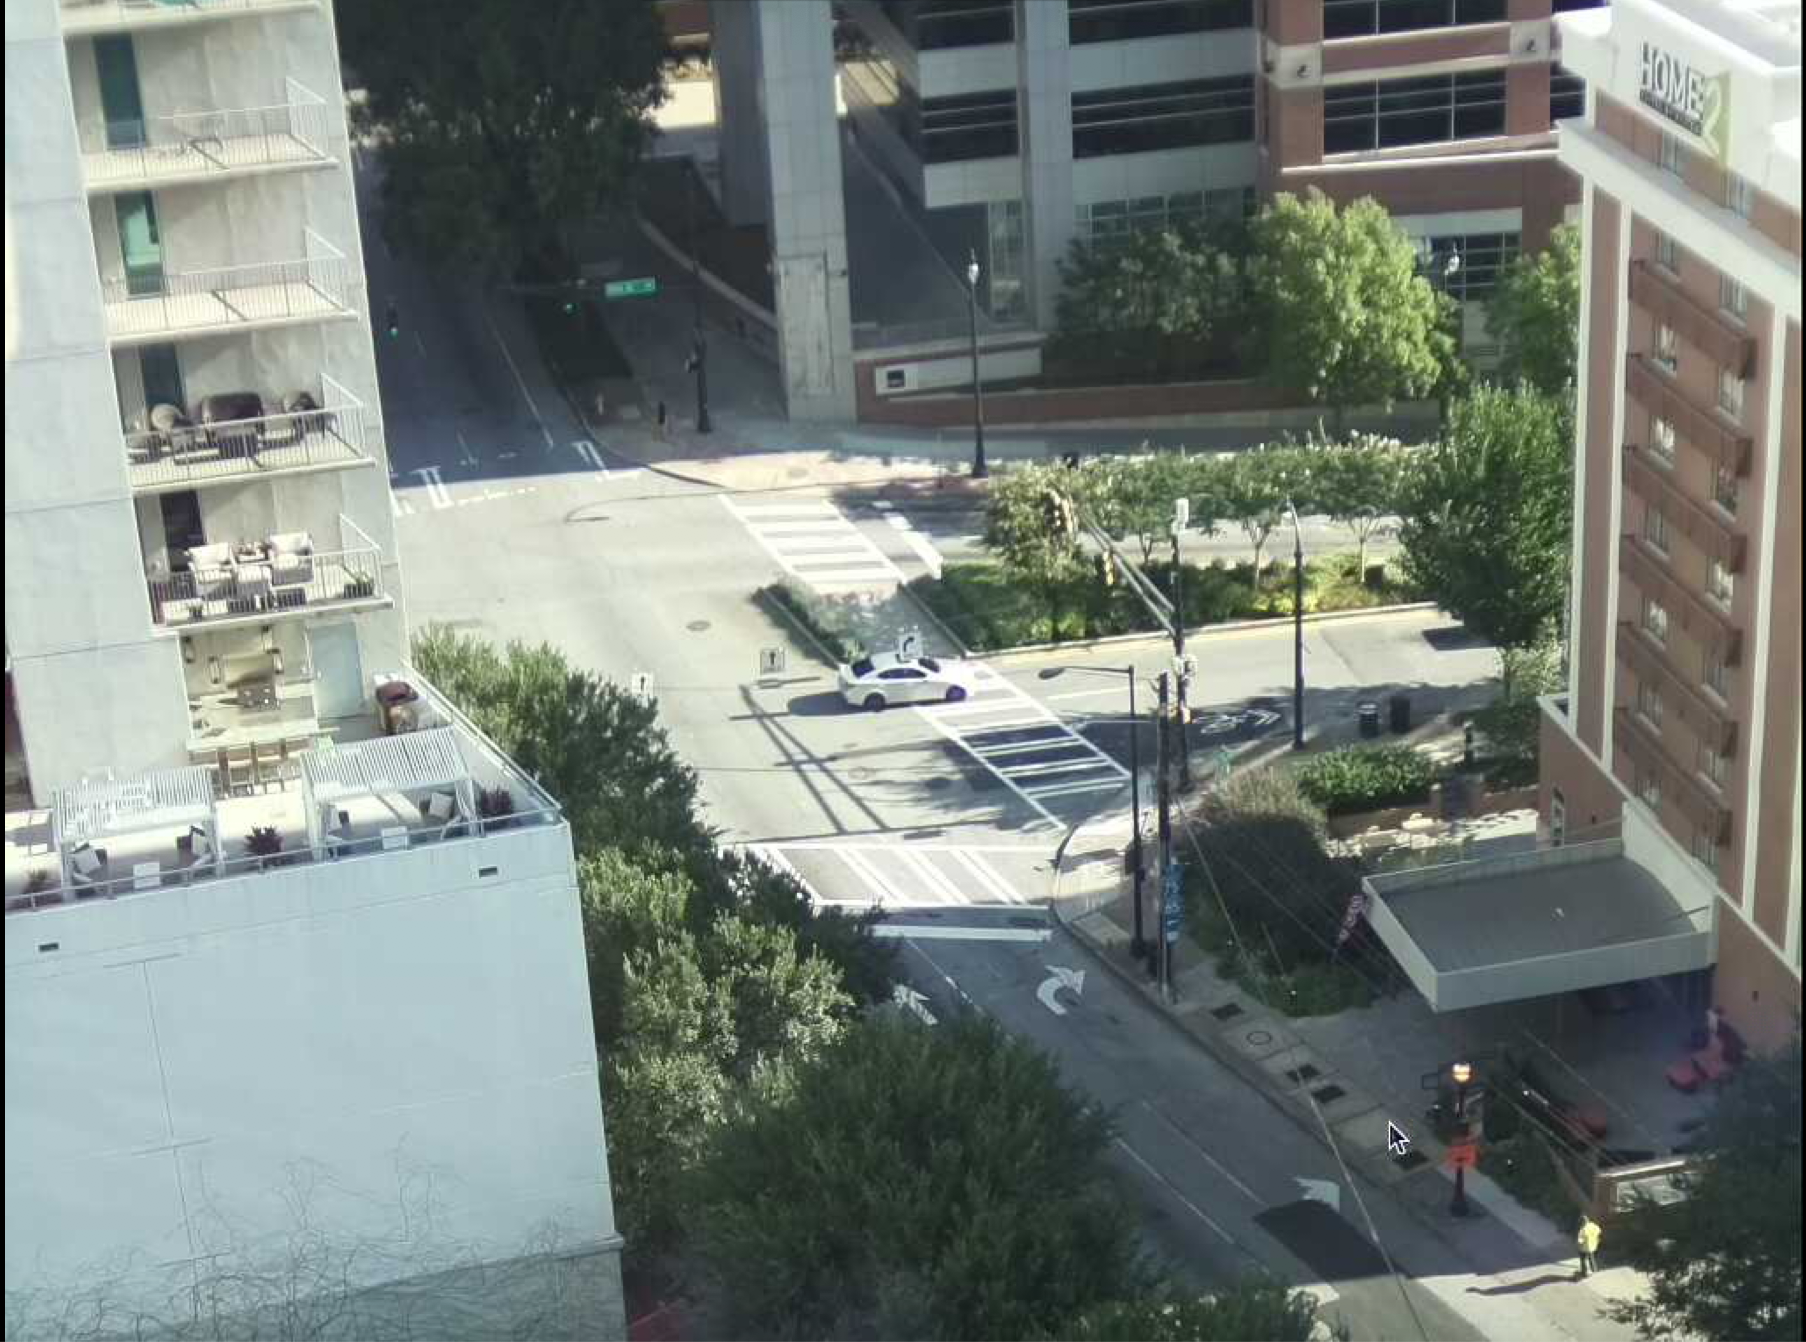
10. Go back to your file director, and you lot should run across a new file paradigm.jpg in the timelapse folder.
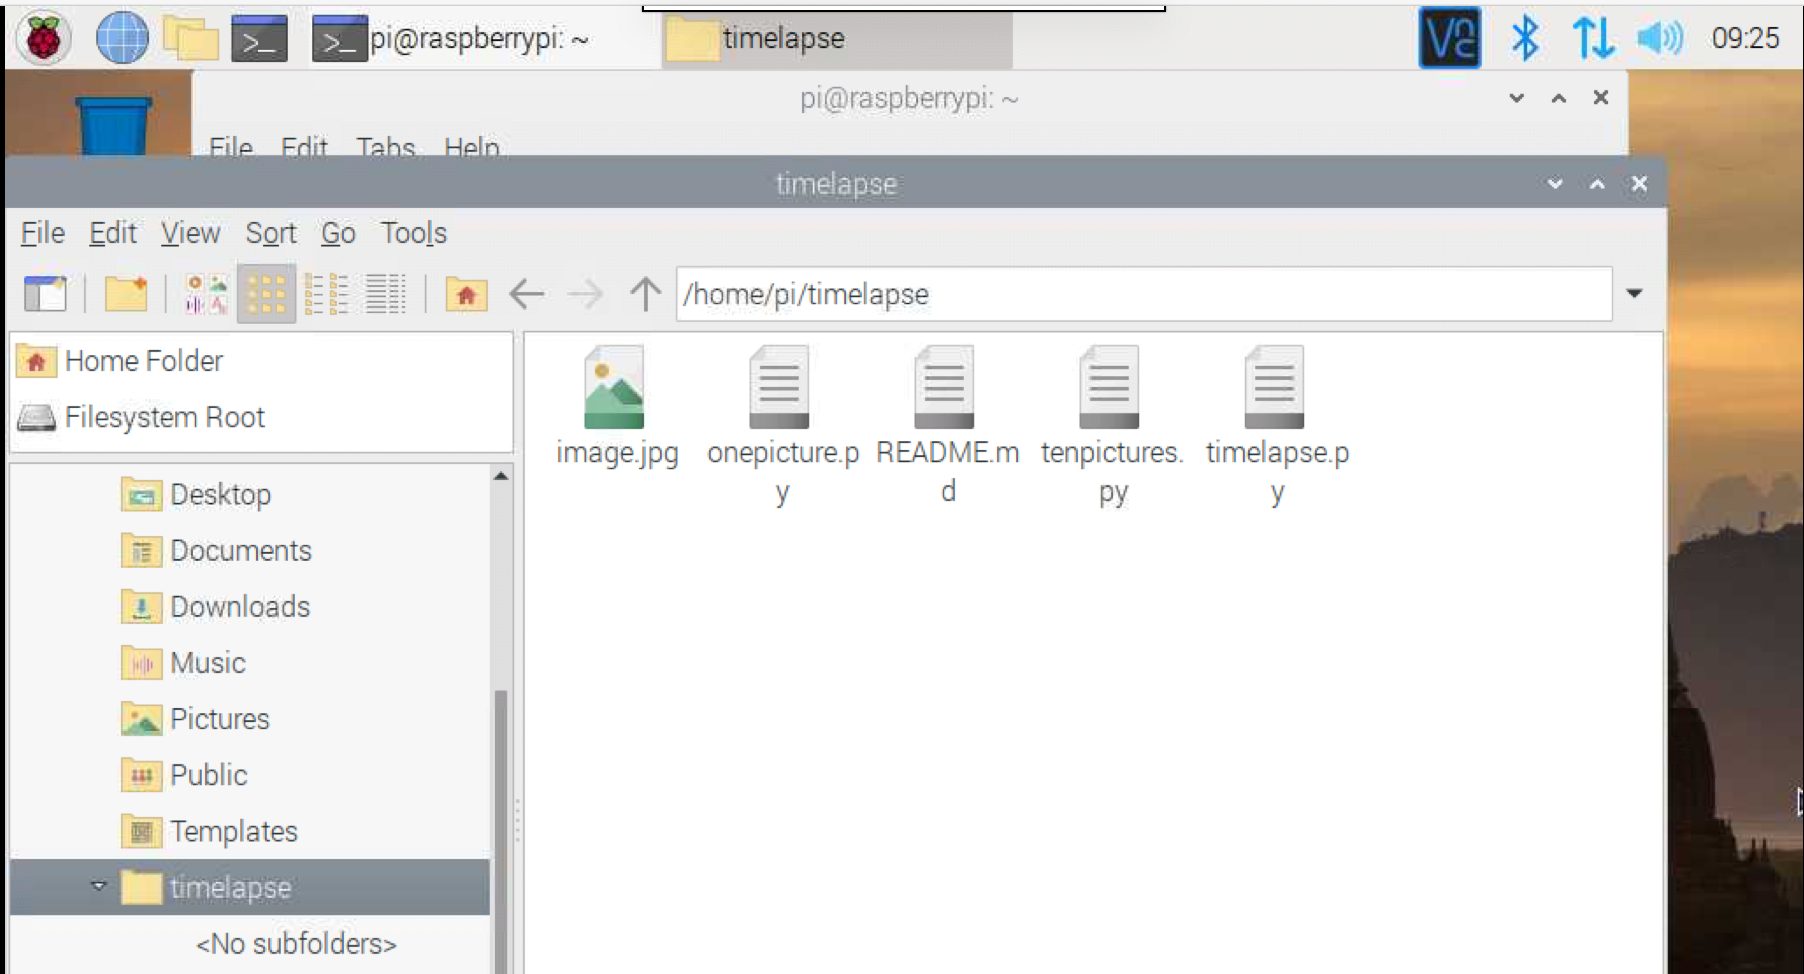
11. Double-click on image.jpg to see your photograph.
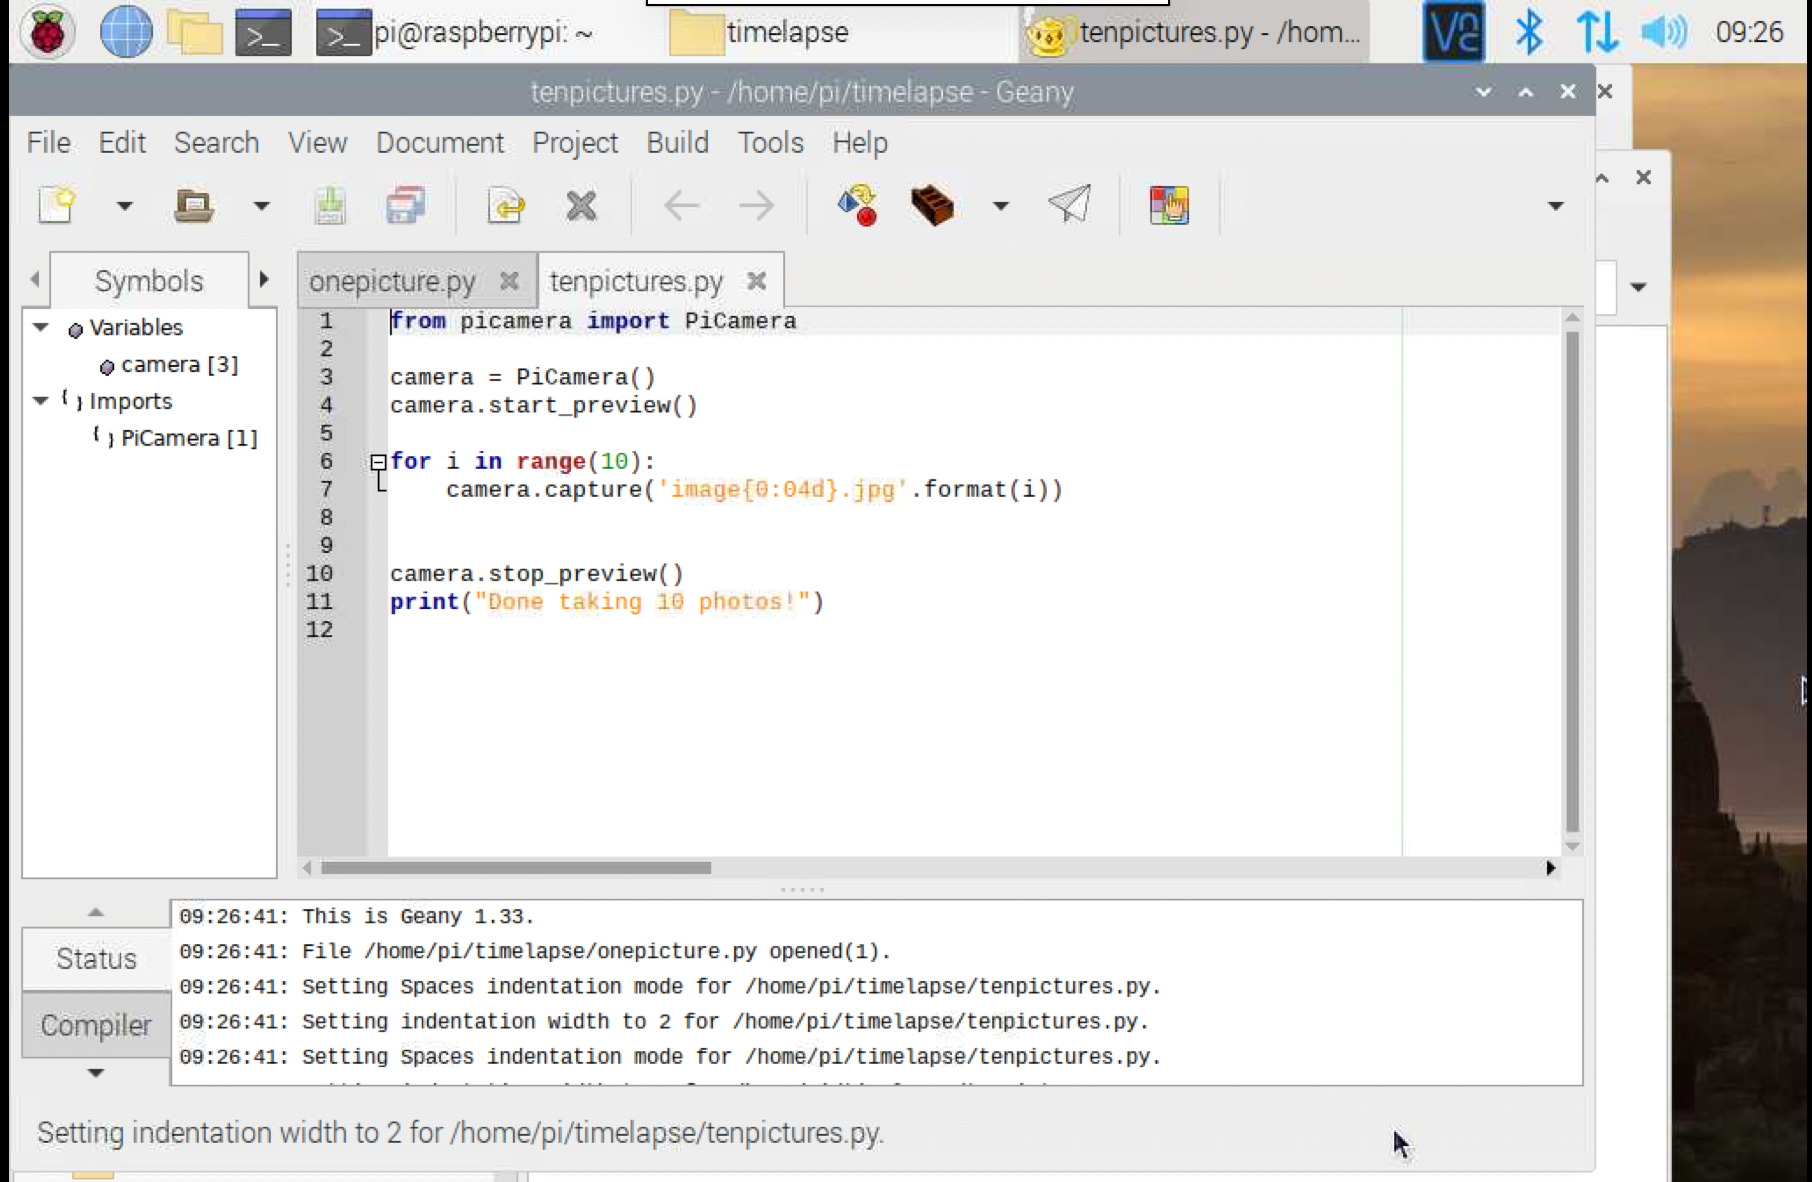
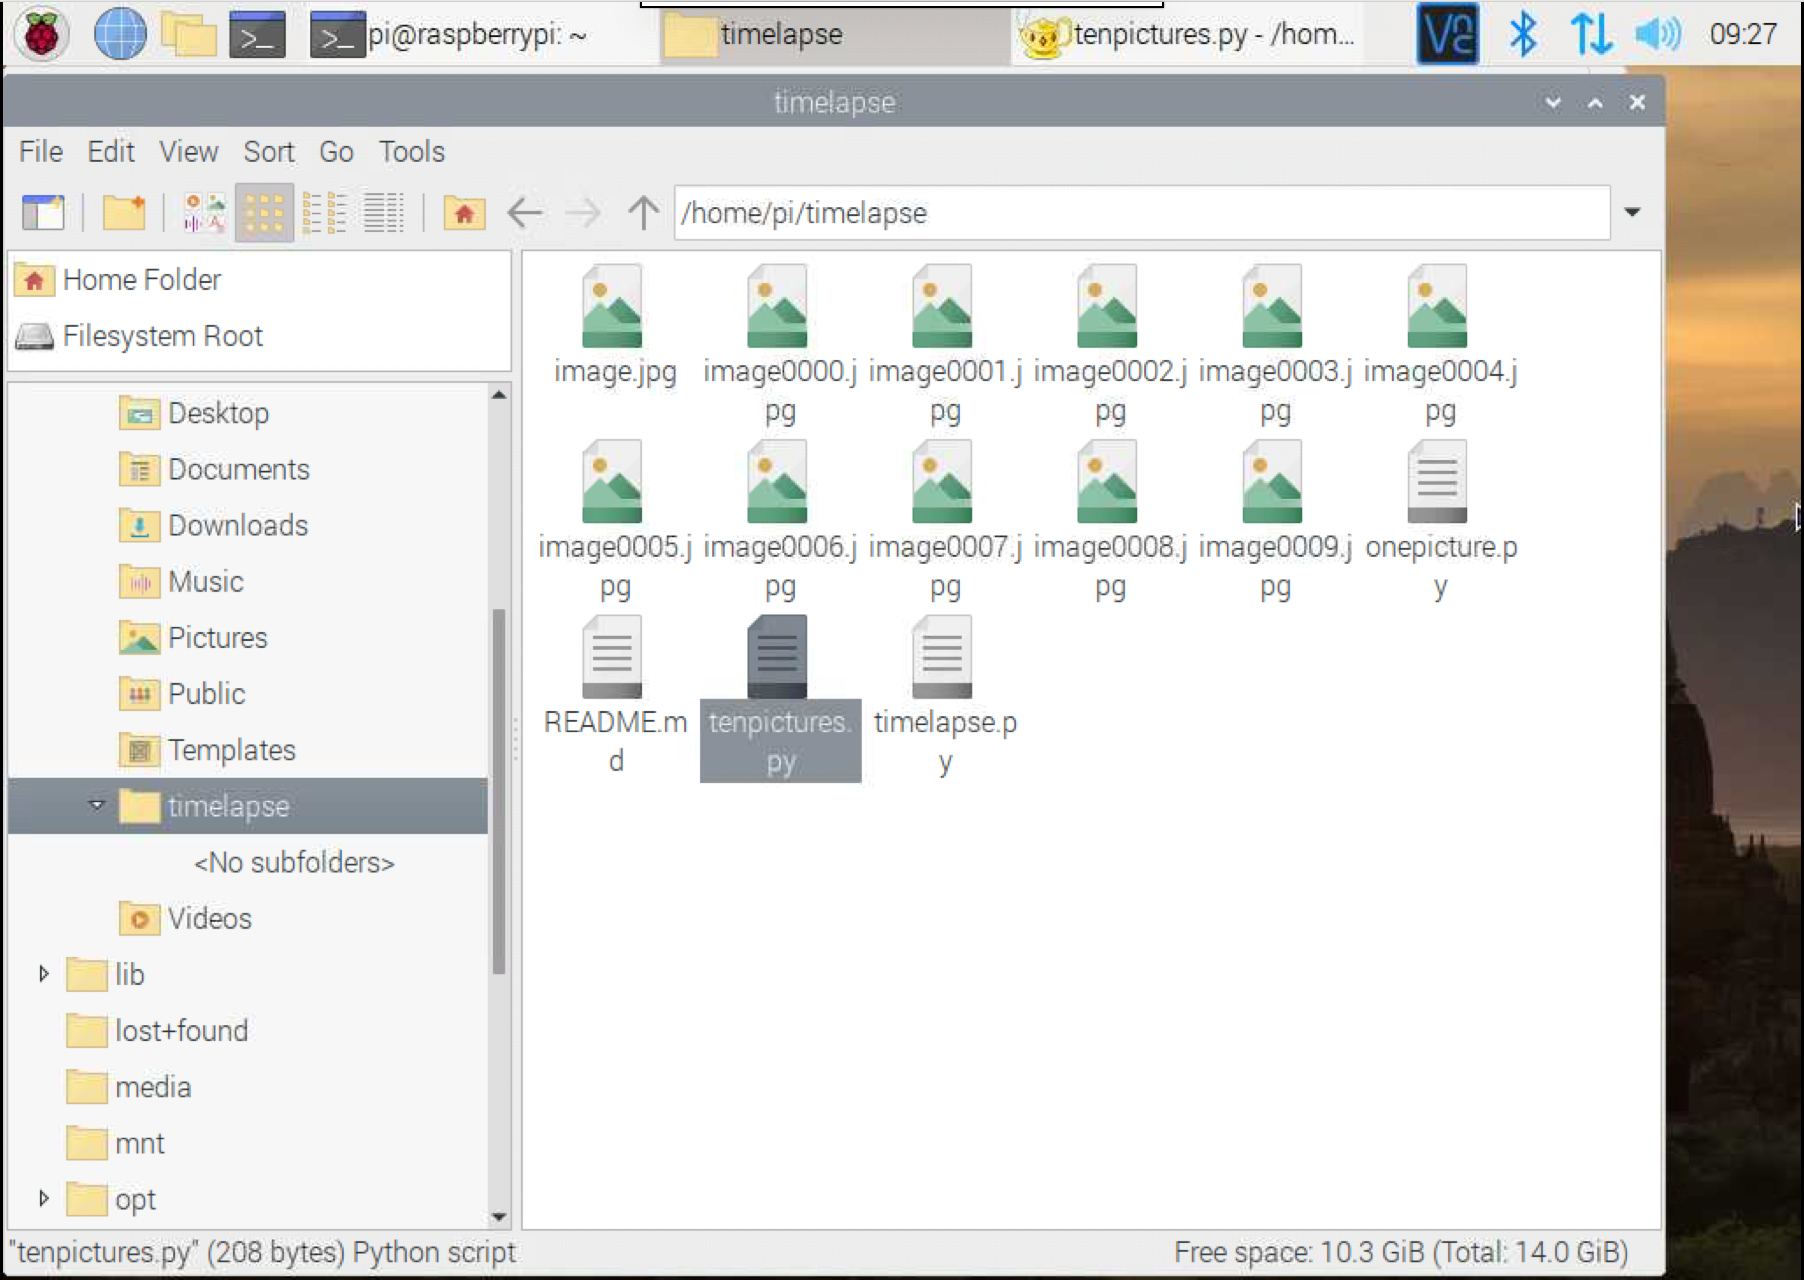
12. Take 10 photos by following the same steps and running tenpictures.py file. This time each picture will be numbered.
Part three: Setup your time-lapse
In this department, we will ready up our HQ camera to create time-lapse videos with a Python script that takes a serial of photos and so places the photos sequentially to create a video.
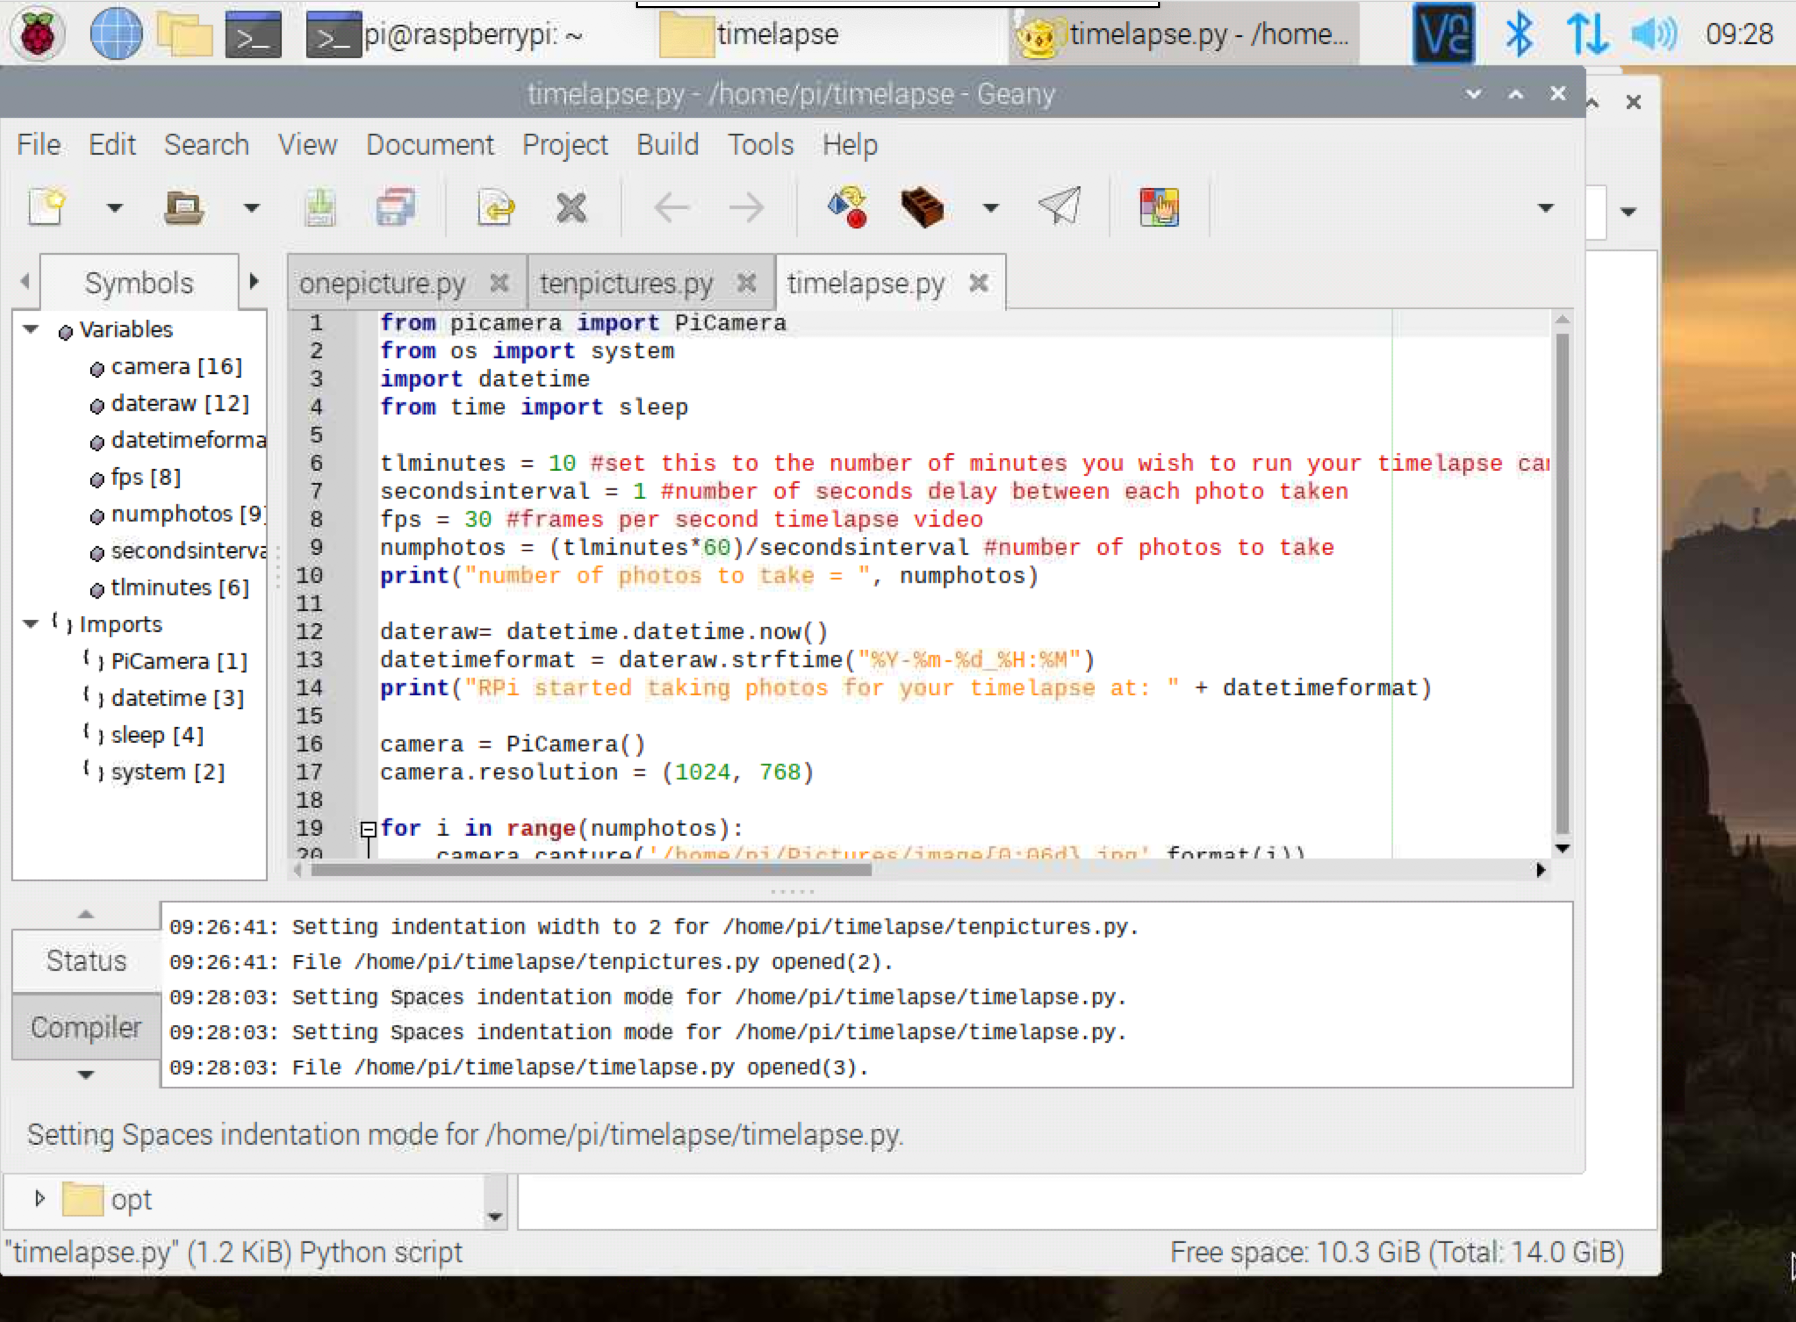
1. Open timelapse.py for editing in Geany or Thonny.
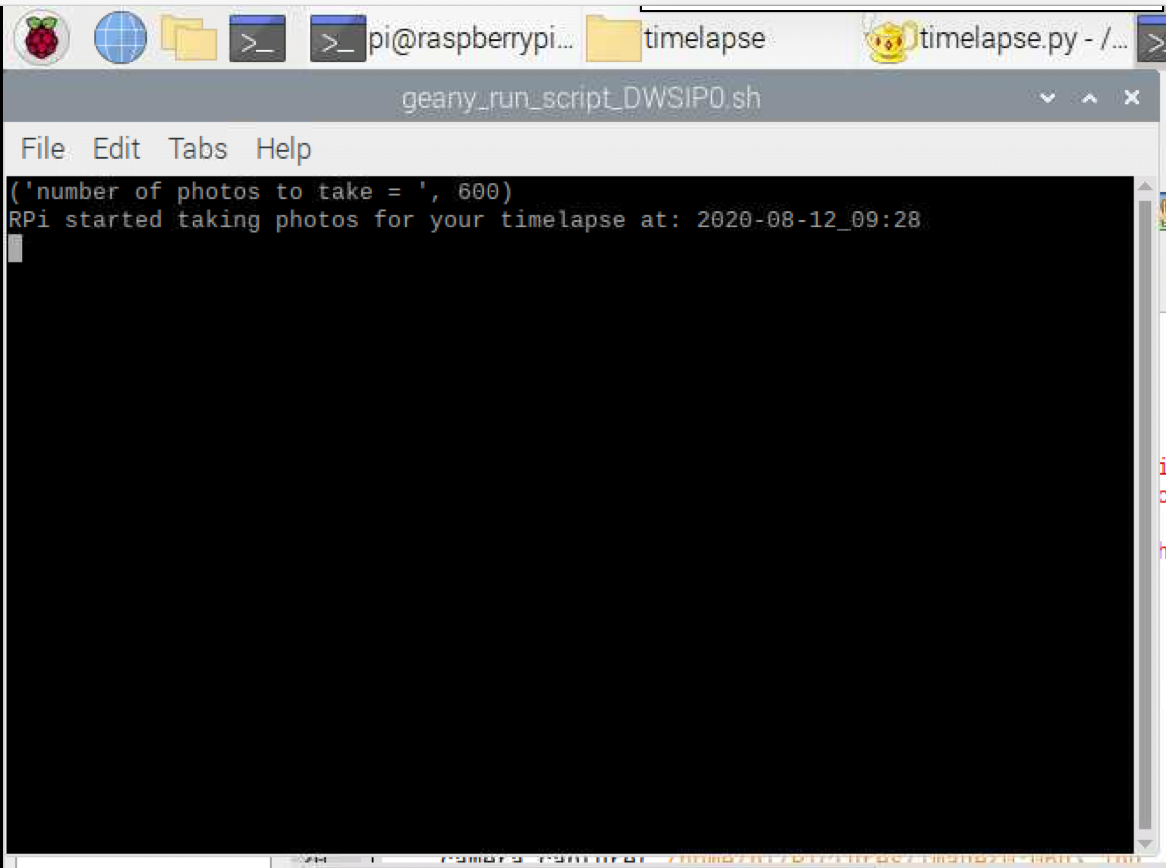
2. Run timelapse.py. Annotation: This step will take at to the lowest degree ten minutes.
A final window should open up indicating that the script is running. The default lawmaking is ready up to take photos for 10 minutes in 1 second increments then create a time-lapse video at xxx frames per 2nd.
3. Allow the script to run and when the program is complete, go to your Videos folder.
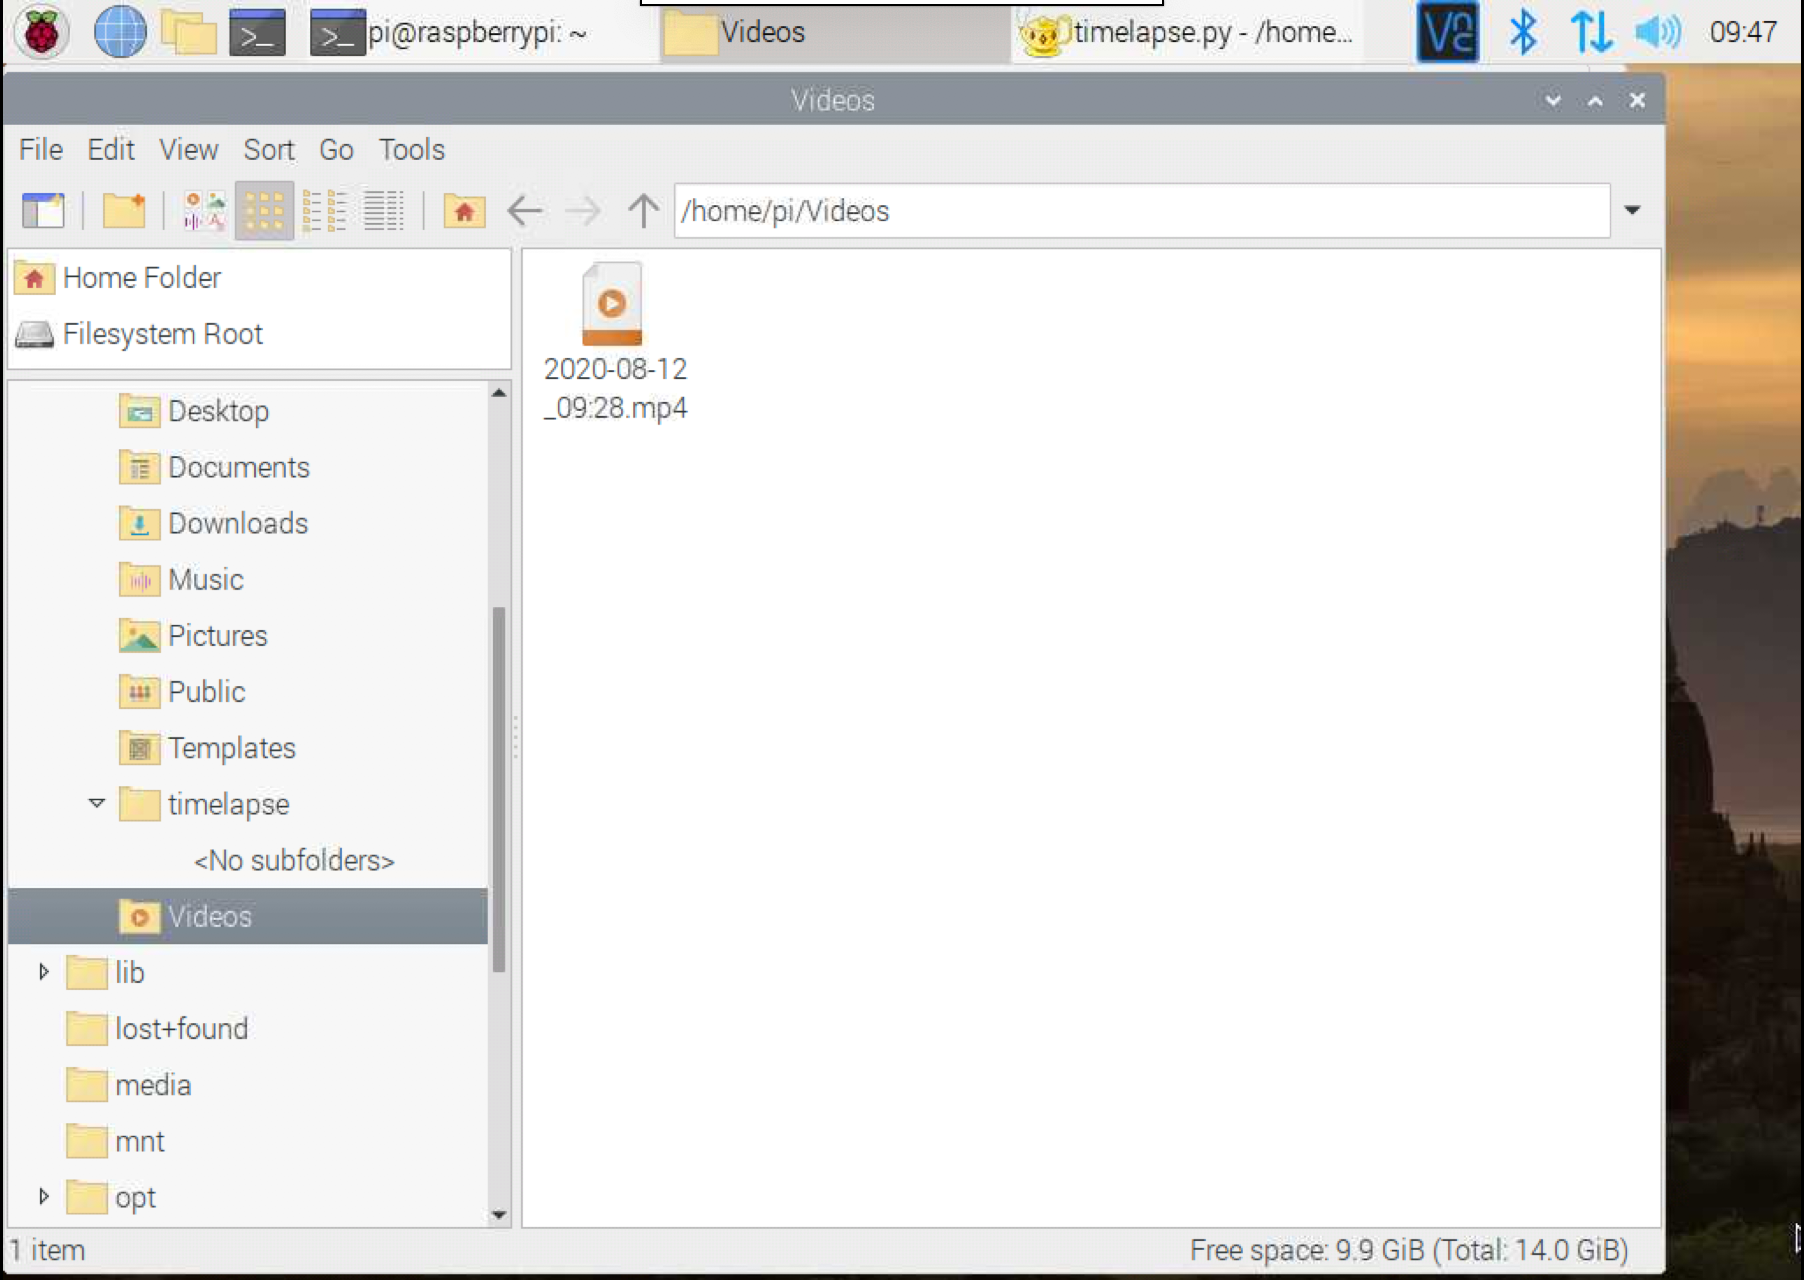
iv. Double-click on the video you simply created to watch.

v. Optional: If yous would similar to ship the video to yourself (or someone else), you can login your electronic mail and send the video in your email, or apply wetransfer.com, a free service that allows up to 2GB files to be sent.
half-dozen. Review the code for timelapse.py and note that yous tin can change the duration that the time-lapse will capture photos (line 6), the interval (in seconds) between each photo (line 7), and the frame charge per unit of your video (line 8).

Office four: Auto-run time-lapse capture at sunrise and sunset
In this section, we will prepare the Raspberry Pi HQ camera to automatically capture time-lapse videos at sunrise and sunset.
one. In timelapse.py code, change the duration, seconds, and frames per second to your desired preferences. For sunrise / sunset fourth dimension-lapse videos, I recommend:
- tlminutes = lx # 1 hour of taking photos
- secondsinterval = five # seconds between each photo
- fps = xxx # no change at 30 frames per second

2. Relieve timelapse.py and close the file. Exercise not run the script.
3. Look up the sunrise and dusk times in your local expanse. If you have set your duration (tlminutes = 60 in the previous step) for one hour, and so I recommend starting the time-lapse capture thirty minutes earlier sunrise / sunset. For case, if the sunrise fourth dimension is 7:00 am, then your showtime time will be 6:xxx am.
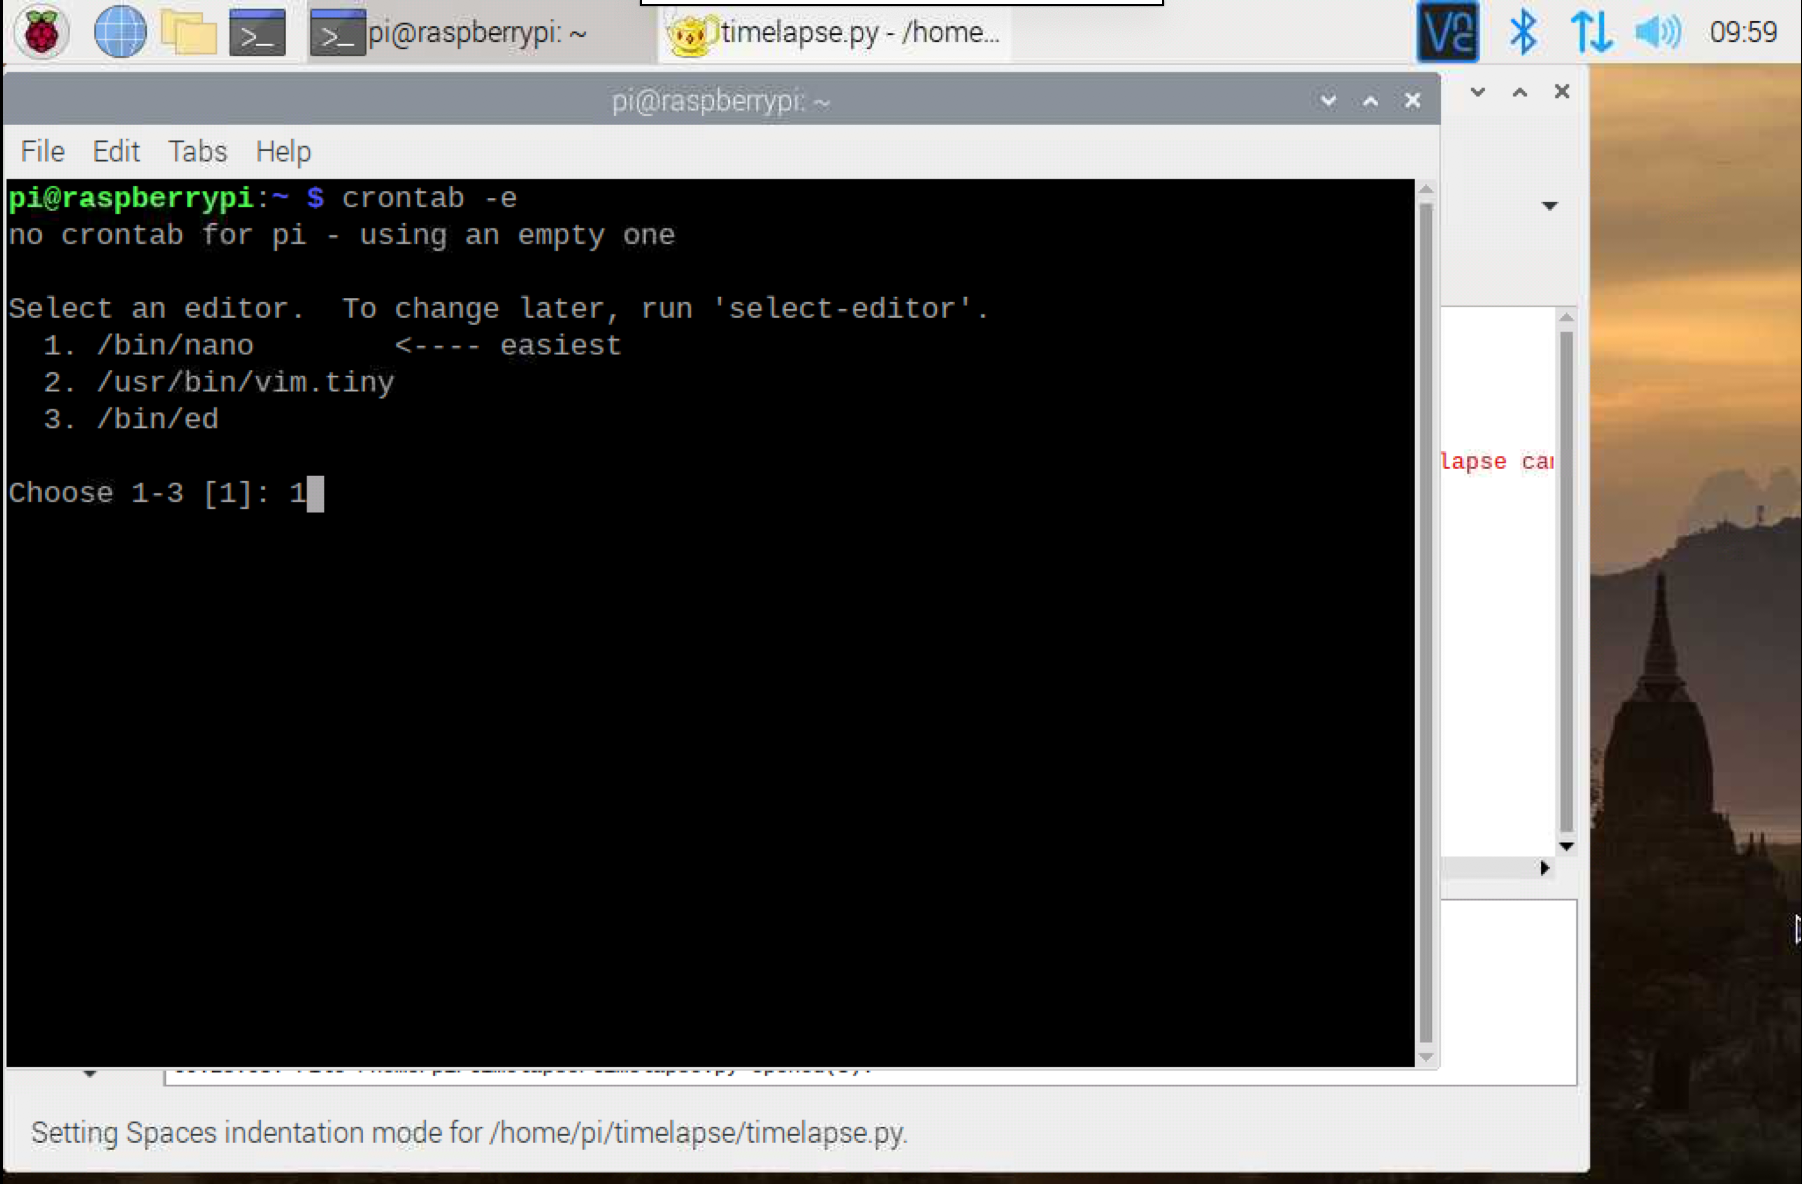
4. Open a terminal window and enter
crontab -e
If this is your get-go time modifying crontab, the Pi will prompt you to select an editor. I selected [1] in this example.
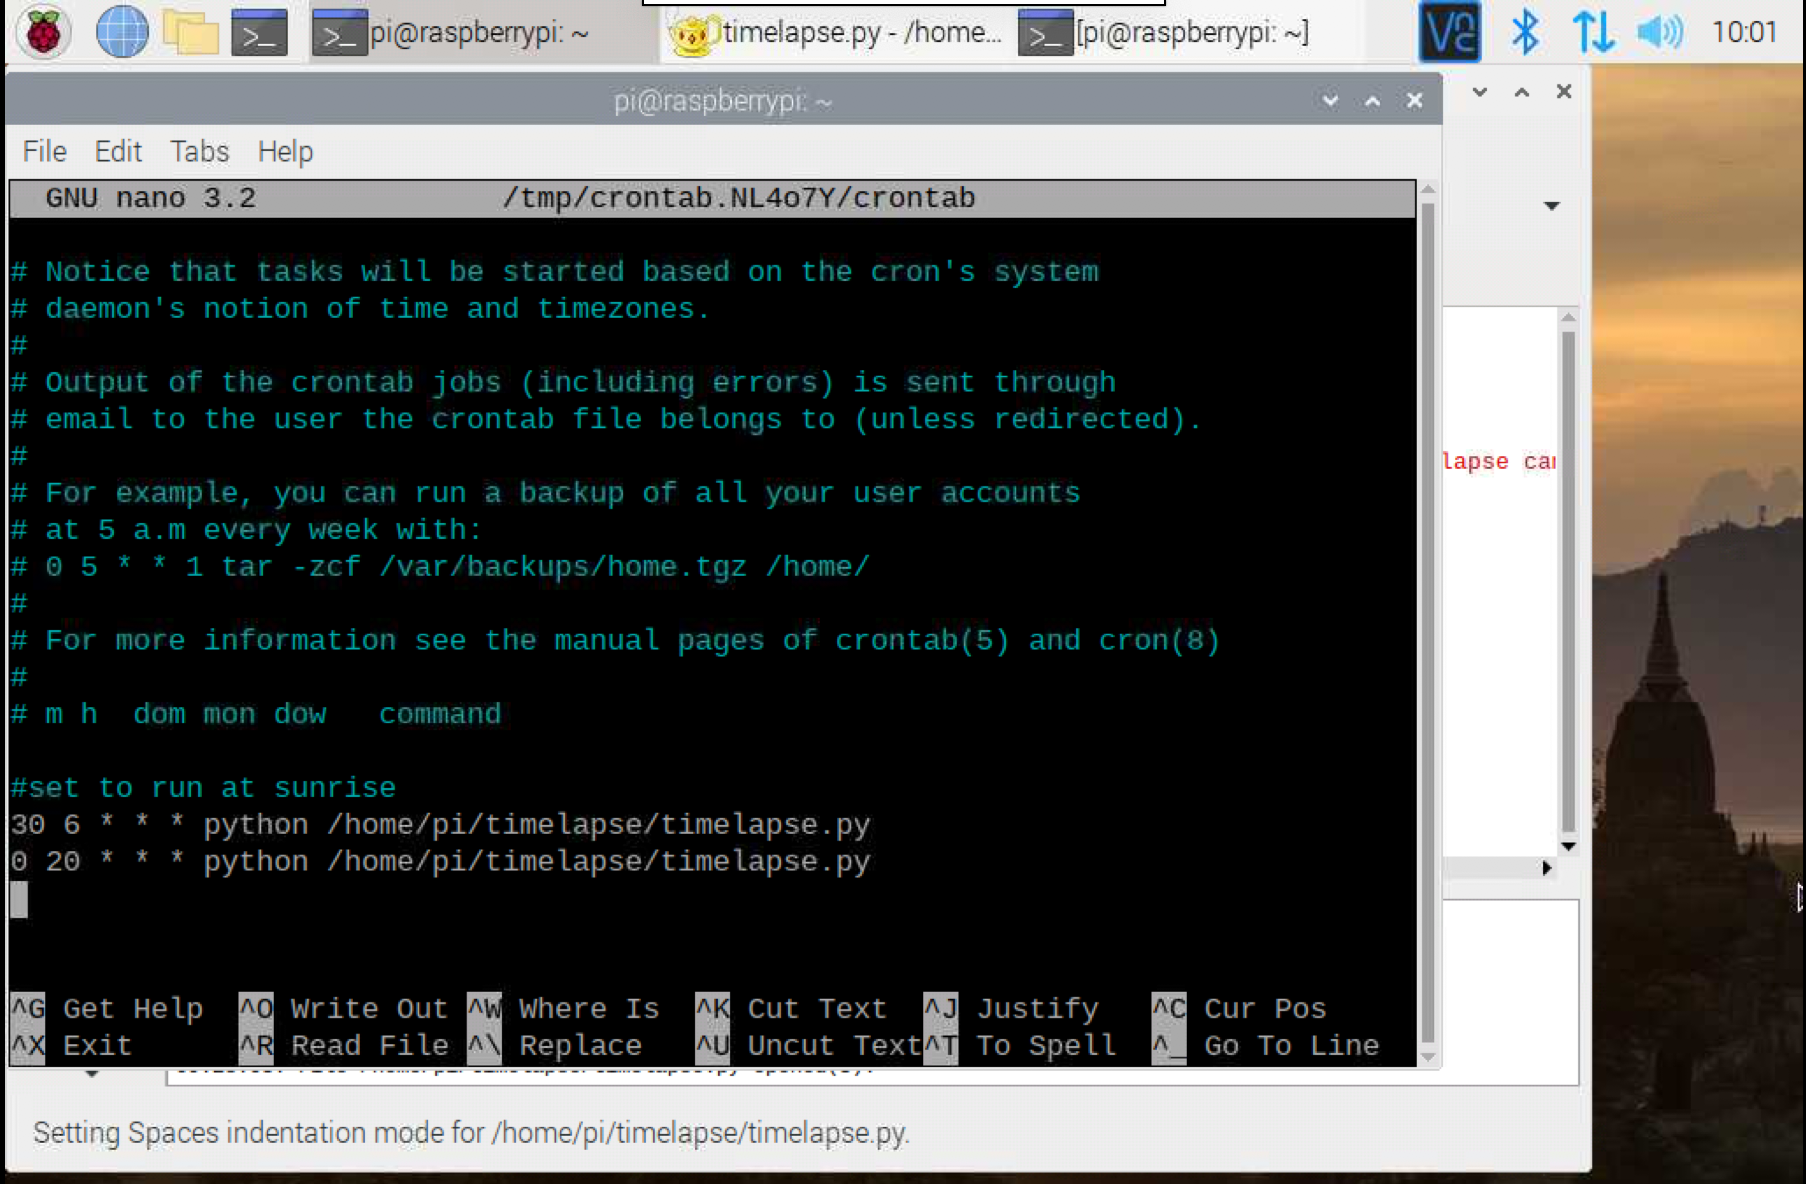
5. Arrow down to the bottom of the file and set your kickoff times for your timelapse.py script to run. In this instance, sunrise is at 7:00 am, and nosotros prepare the script to start at six:30 am. Sunset is at 8:thirty pm and we will set timelapse.py to run at 8:00 pm / 22:00. Enter in the following lines to the bottom of your crontab file (adjusting for your sunrise and sunset times)
30 six * * * python /dwelling/pi/timelapse/timelapse.py 0 22 * * * python /home/pi/timelapse/timelapse.py 6. Hit Ctrl-X to Exit and y to save your crontab file.
While the Raspberry Pi is powered on, timelapse.py volition automatically run at the times you have set.

Source: https://www.tomshardware.com/how-to/raspberry-pi-time-lapse-video
0 Response to "Python Script Upload Youtube Video Raspberry Pi"
Enregistrer un commentaire